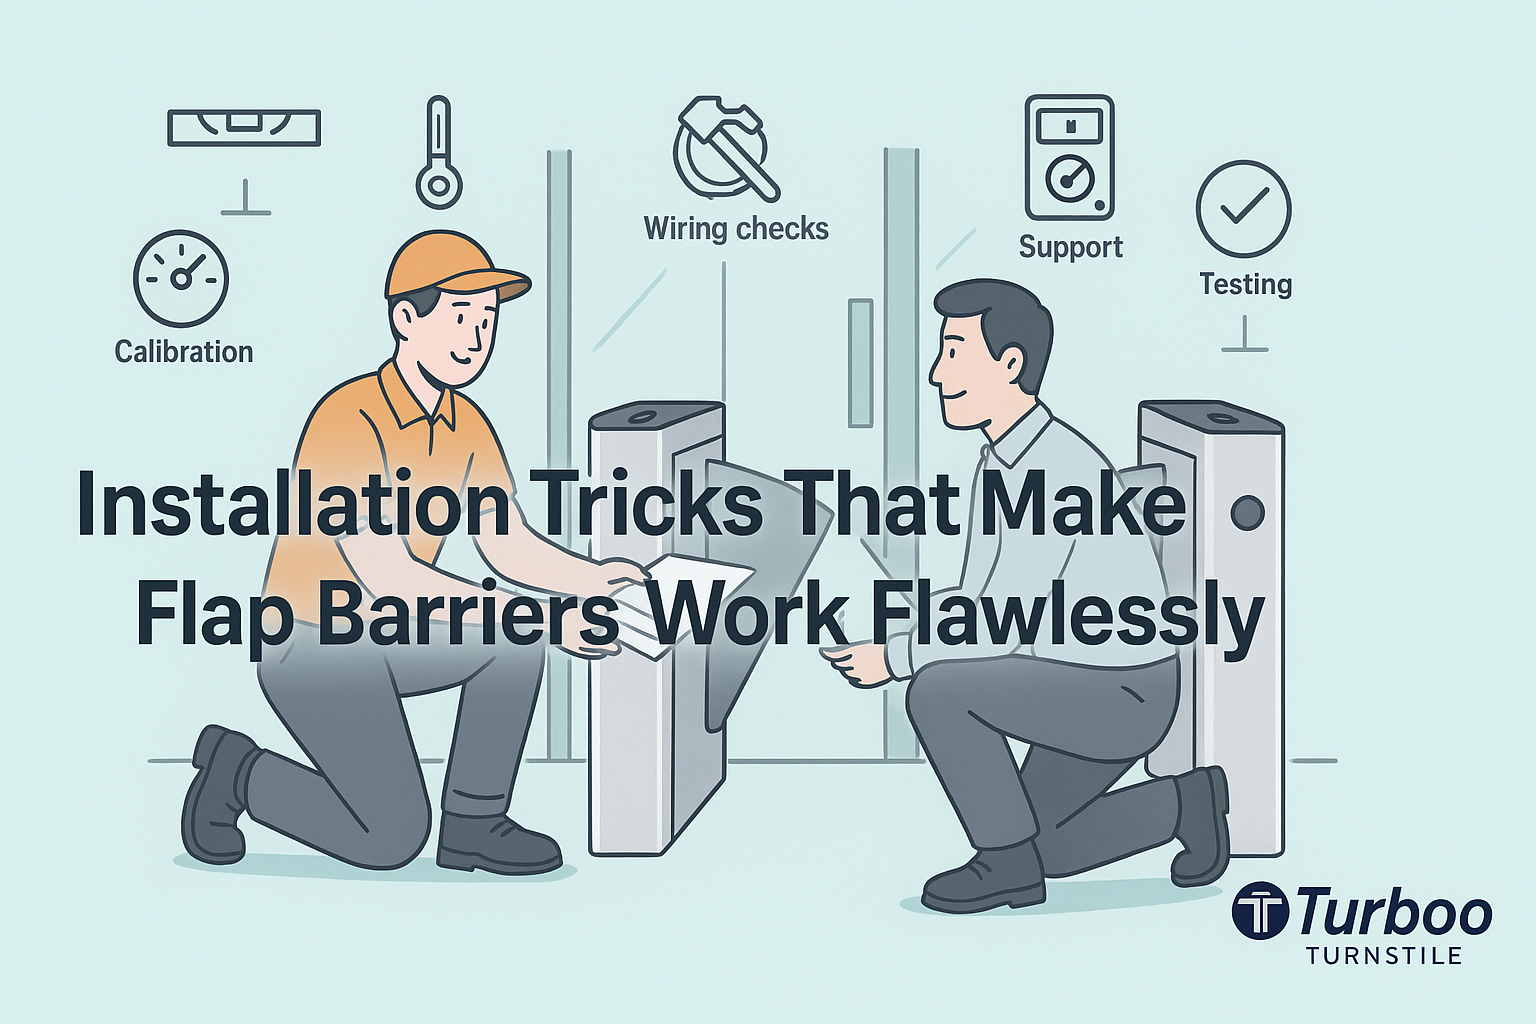
Installation Tricks That Make Flap Barriers Work Flawlessly

Flap barriers can malfunction for simple reasons. A tilted frame, a missed cable, or a rushed software setup often causes more damage than faulty hardware. These are mistakes that seem small in the moment but grow into serious issues later. That’s why so many installations end with callbacks or complaints.
It’s frustrating for everyone. Technicians have to return and redo work. Users deal with delays and access errors. Facility managers face downtime and budget pressure. And all because one part of the process wasn’t done right.
This guide focuses on expert flap barrier installation tips. You’ll learn the practical tricks that save time and prevent problems. These aren’t theory—they come from real projects, real installers, and real lessons.
When applied step by step, these tricks help your flap gate installation run smoothly. You’ll avoid the errors that typically appear after go-live. Most of all, your system will be ready to work from day one—with no headaches and no unexpected costs.
Smart Site Preparation Prevents Future Headaches
Every barrier setup begins with the ground beneath it. If that space isn’t ready, the rest of the process falls apart. Smart site preparation is the first and most important trick to get right.
Start by checking the floor surface. It must be level, dry, and clean. Even a slight slope or uneven spot can cause the barrier frame to sit incorrectly. That throws off alignment, sensor accuracy, and the flap’s movement path. A misaligned flap is one of the top reasons barriers stop mid-motion or throw errors.
Next, measure the walk path. Users need room on both sides of the flap arms—not just to pass, but to swipe a badge or scan a face. If the area is tight, adjust placement before drilling. Crowded installations always cause complaints. Measure twice, drill once.
Then plan cable paths. Think ahead about where power and network cables will run. Avoid routing them where foot traffic, water spills, or cleaning machines could damage them. Ideally, use underfloor conduits or wall trays. Pre-mark cable entry points so drilling doesn’t interfere with wiring access.
Also check wall proximity. Flap arms need full swing clearance. Barriers placed too close to a wall often jam or wear out early. A few extra centimeters of planning now saves hours of repair later.
Want more advice on setup surfaces and layouts? Start with this: Flap Barrier Site Prep
Good preparation isn’t about being slow—it’s about thinking one step ahead.
Precision in Alignment Makes All the Difference
You can’t just drop a flap barrier into place and bolt it down. Proper alignment is key to how well the arms move, how reliably sensors fire, and how users pass through. Even being off by a few millimeters causes real problems.
Place the barrier so it’s centered with the doorway or path. If it’s too far left or right, people will step awkwardly—or worse, brush the sensors or arms during movement. That leads to sensor false trips and errors.
Use the manufacturer’s drilling template. These are designed to make sure bolt holes match up with internal mounts. Skipping the template often leads to off-center installations, which affects the entire frame. Never eyeball it.
Watch the vertical angle, too. If the barrier isn’t perfectly level, the flap arms won’t move evenly. One side may drag or lock up. Over time, that imbalance wears down the motor or linkage. Use a laser or bubble level before tightening bolts.
Finally, test the gap between the barrier arms and surrounding surfaces. Arms must move without touching anything. If your spacing is too tight, friction or bounce can cause mid-swing errors that aren’t easy to diagnose later.
These alignment tricks are simple. But skipping them means the whole system will never quite work right.
Wiring Tricks that Prevent Failures
Wiring problems don’t always show up right away. Sometimes the barrier powers on fine—but then crashes under load or fails during an access attempt. These failures often trace back to poor wiring practices.
Keep data and power cables separate. If you run them together in the same conduit or tray, signal interference can happen. That causes network drops or corrupted commands. Keep at least 15–30 cm between lines when running them parallel.
Use flexible conduit to shield cables from impact or moisture. Even indoor locations see wear from carts, vacuums, or accidental kicks. Unprotected wiring is one of the most common sources of later failures.
Always check voltage before connecting to the barrier. If your line is unstable or underpowered, the motor can stall mid-movement. Worse, you could blow a fuse or damage the control board. Use a multimeter and test loads in advance.
Ground your system. Poor grounding leads to random reboots or data loss. In shared circuits, it can even damage other building systems. Always follow the manufacturer’s wiring diagram exactly.
Label each cable clearly. If a tech needs to troubleshoot later, clear labeling saves hours. Color coding or simple tags help with this.
Need detailed wiring guidance? Use the Install Guide or review expert tips at Security Magazine Installation Advice
Calibration Steps that Smooth Flap Motion
Even a perfectly mounted barrier can malfunction if it’s not calibrated properly. Calibration fine-tunes the way the flap arms move. It helps prevent false stops, inconsistent motion, or motor strain.
Start by adjusting flap sensitivity. Most systems allow you to control how easily the arms react to movement or resistance. Set it too low, and the arms may jerk or fail to open fully. Set it too high, and they might not stop when a user bumps them, which is a safety issue.
Check the motor’s feedback loop. This feature tells the system whether the flap arms reached the correct position. If it’s not properly synced, the barrier might think it’s open when it’s not, or close when someone’s still inside. These calibration points are usually handled in the setup menu or control panel.
Also calibrate timing. Each flap should open and close in a smooth motion, without sudden stops or reverse swings. If the arms slam shut too fast, adjust the delay settings. These fine-tuning options improve both safety and user comfort.
If your barrier uses sensors to detect motion or tailgating, those need calibration too. Test them by having one person walk through normally and another follow closely. Make sure alerts are triggered accurately without flagging false alarms during normal use.
Repeat all motion tests in both entry and exit directions. Barriers often behave differently on each side, depending on how access rules are applied.
Once calibrated, the barrier should open reliably, stop when needed, and recover from faults without manual resets. This smooth movement is a clear sign that everything is working as it should.
Don’t treat calibration as a “nice to have.” It’s one of the most important steps in ensuring long-term barrier performance.
Software Setup for Reliable Barrier Response
The brain of the flap barrier is its software. Hardware does the moving, but software controls everything from access rights to timing. If the software isn’t set up correctly, your barrier may look fine but fail under real conditions.
Start with access group settings. Who can enter and when? These rules must be programmed into the barrier’s controller or access platform. Get this wrong, and valid users will be locked out—or worse, unauthorized users will get in.
Configure timing delays. These control how long the arms stay open and how fast they close after entry. In busy areas, longer delays reduce jams. In high-security zones, shorter timing improves control. Match settings to the site’s traffic pattern.
Also set alerts. Many barriers can notify managers if someone tries to tailgate, force entry, or open the barrier without credentials. These features only work if they’re configured. You can even link some systems to building alarms or security software.
Test real-time data syncing. The barrier should send access logs to your server or cloud system without delay. If not, check your firewall or IP settings. Many access failures are caused by network misconfiguration, not physical faults.
Finally, update firmware and activate licenses. Some systems ship with limited software and require activation codes to unlock full features. Without them, your logs may not store, or remote controls may not work.
For technical support standards, consult this detailed Technical Guide
A barrier that moves correctly but ignores access rules isn’t secure. Always confirm software settings before going live.
Maintenance Habits That Protect the Investment
Flap barriers don’t stop needing attention after installation. Regular maintenance keeps them working properly and helps avoid expensive breakdowns. The most effective maintenance is simple and preventive.
Clean the sensors regularly. Dust and smudges reduce sensitivity and trigger false alerts. Use a soft cloth and avoid harsh chemicals. For outdoor units, check for insect nests or water damage inside the casing.
Wipe the flap arms and check for loose joints. Frequent use can loosen screws or wear down bearings. Small noises or jerks during movement are often early warning signs.
Review system logs weekly. Most smart barriers track errors, delays, or failed access attempts. If the same issue shows up repeatedly, it needs fixing before it gets worse.
Keep software and firmware up to date. Manufacturers often release updates that improve stability or add features. Delaying updates leaves your system vulnerable to bugs or slow performance.
Train staff to handle small resets. Not every issue needs a technician. Basic training allows your team to clear common errors, restart the unit safely, or change access settings for new users.
Lastly, schedule annual checks. These should include cleaning, part inspections, and log reviews. A yearly service visit is cheaper than replacing a damaged motor or sensor down the line.
Flap barrier setup doesn’t end on day one. With consistent maintenance, your system can run flawlessly for years.
Why Teams Ignore These Tricks—and What It Costs
Despite the simplicity of many of these tricks, they’re often skipped in the field. The reasons are familiar: time pressure, low experience, or the belief that minor details won’t matter. But they do.
Rushing the install might save a few hours today—but it can add days of repairs next month. A sensor misaligned during mounting might work for a while but fail during peak traffic. That leads to user complaints and emergency service calls.
Many teams don’t review the access control software until the system is already live. When users can’t log in or logs don’t sync, the blame gets passed around. These issues are avoidable with basic testing before launch.
Other times, installers don’t clean up cables or use protective conduit. A month later, a janitor accidentally unplugs the unit, or a wire is damaged by a cart. Now the site is down and the installer gets a callback.
The biggest cost is reputation. When barriers work well, no one notices. But when they fail, everyone remembers—and the installer gets blamed.
That’s why every technician and manager should read this: Flap Barrier Installation Errors
Final Thoughts
Getting a flap barrier to work perfectly is not just about buying the right hardware. It’s about installing it the right way. That means being careful with site prep, precise with alignment, smart about wiring, and thorough with software.
The tricks in this guide are easy to apply but often overlooked. When ignored, they cause costly errors. When followed, they ensure your barrier runs reliably from the start.
Whether you’re managing one install or setting up multiple lanes in a commercial facility, these flap barrier installation tips will save you time, stress, and money.
Take a few extra minutes on each step now—and enjoy years of smooth operation later.
FAQs
1. What’s the most common cause of flap barrier failure?
Poor alignment and sensor calibration. Even small offsets can cause system errors.
2. How often should I clean or inspect the barrier?
At least once per month. High-traffic sites may need weekly checks.
3. Do I need an electrician for the install?
Yes, for proper power wiring and grounding. Safe voltage is critical to system performance.
4. What software setup is required after installation?
You’ll need to configure access groups, timing, and alerts. Some systems also need network setup or firmware activation.
5. Can I skip calibration if the arms move correctly?
No. Even if motion seems fine, calibration prevents long-term wear and ensures safety compliance.