Site Preparation Checklist for Flap Barrier Projects

Installing flap barriers isn’t something you do on a whim. The success of your project depends heavily on what happens before any equipment even arrives. This phase—site preparation—is the true foundation of a functional, timely, and cost-effective installation. Without it, your project may suffer from delays, unexpected costs, or even rework. And let’s be honest—no team wants to face that kind of frustration.
Many project managers underestimate how critical proper prep is. But ask any seasoned installer, and they’ll tell you the truth: the most common causes of delays are almost always rooted in poor planning. Whether it’s the wrong floor type, a missing power source, or cramped space, small oversights can spiral into large setbacks.
That’s why this guide was created. It offers a comprehensive flap barrier site plan tailored specifically to project planners, facility managers, and installation teams. It covers every key element of site readiness—step by step, in plain language. From physical space measurements to stakeholder communication, we’ve got it all mapped out.
If you want to avoid delays, sidestep unnecessary costs, and deliver a setup that works flawlessly, this is the checklist you need. It’s practical. It’s proven. And it’s built for teams that care about doing the job right the first time.
Get ready to set your flap barrier project up for success—starting with the site.
Conducting a Thorough Site Inspection
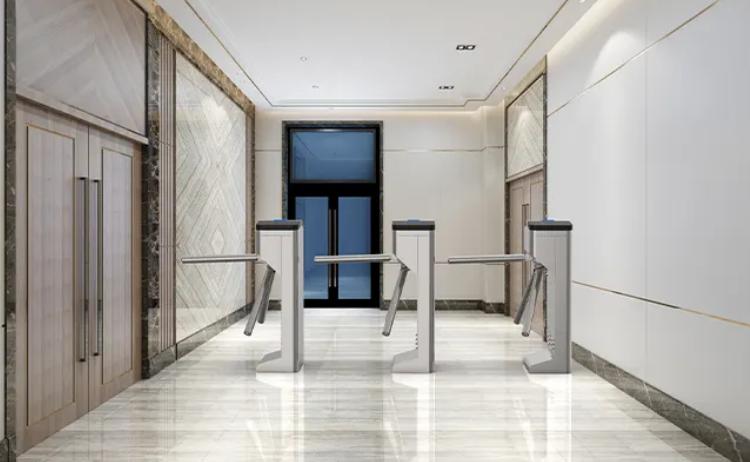
The very first step in any successful flap barrier site plan is a detailed site inspection. You can’t plan accurately until you understand what you’re working with. That means walking the site, observing its layout, and identifying any potential issues that could interfere with installation.
During the inspection, your team should look at how the space is used. Where do people enter and exit? Are there obstacles nearby like columns, furniture, or walls that could block access or reduce visibility? Take note of any obstructions or design elements that might conflict with barrier placement.
Also observe environmental conditions. Is the site indoors or semi-outdoor? What’s the current lighting like? Is there moisture, dust, or exposure to outdoor elements? These factors will affect the type of barrier selected and how it’s installed.
More importantly, this inspection should include technical checks. You need to identify where power sources are located, what the flooring is made of, and whether existing infrastructure will need to be modified. Each of these can impact installation time and cost.
Skipping the site inspection phase is risky. It leads to inaccurate estimates, missed requirements, and a breakdown in scheduling. Instead, treat it as your project’s scouting mission—the information you gather here will guide everything else.
For detailed steps on how to perform this inspection, refer to this full flap barrier site prep resource.
Measuring the Installation Space with Precision
Once the site is inspected, the next step is space measurement. This might sound simple, but it’s a step where errors often occur. Measuring just the entry width is not enough. You need exact dimensions for both the entry and exit paths, including side clearances and overhead space.
Flap barriers come in various sizes depending on model, configuration, and lane type. If the measurement is even slightly off, your equipment might not fit, or worse, users may face tight, uncomfortable access that creates a safety hazard. A cramped layout leads to congestion and reduced accessibility.
Take multiple measurements. Measure the total available width and then break it down by each intended lane. Account for user clearance as well—flap barriers need open zones for users to pass through easily, and these spaces must comply with building codes or accessibility regulations.
Vertical clearance also matters. Overhead sensors or mounted devices may require headroom, especially in enclosed lobbies. Look for ceiling-mounted cameras, lights, or vents that could obstruct barrier components or hinder maintenance access.
Document every measurement carefully and double-check them. Use digital tools or laser measuring devices for accuracy. It may help to mark the proposed footprint on the floor so all teams can visualize placement before installation begins.
This isn’t just about fit—it’s about flow. A flap barrier site plan must ensure smooth pedestrian traffic and safe, intuitive movement. Measurement drives that.
Verifying the Power Supply and Electrical Readiness
No barrier can function without electricity. Power readiness is one of the most important—and often neglected—elements in flap barrier project planning. Barriers need a stable and continuous power source to operate motors, sensors, and any connected access control systems.
The first task is to confirm power availability near the intended barrier location. Check if electrical outlets or power lines are already present. If not, you’ll need to install new ones. That’s why early planning is crucial—delays in electrical work can derail your timeline.
Next, verify the voltage requirements of the selected barrier model. Most flap barriers operate on 110V or 220V, depending on your region and the barrier’s internal systems. Ensure the power supply matches the manufacturer’s specification to avoid performance issues or equipment failure.
It’s not just about power being nearby. It has to be in the right place. Installers often require floor boxes or wall-mounted panels positioned close to the barrier base. Wiring needs to be protected—preferably run through conduits beneath the floor or hidden behind panels.
Also consider how the system will function in case of power failure. Many barrier models come with built-in battery backups, but your site may require integration with a UPS or emergency generator. Discuss this with your electrician or project manager during the prep phase.
Poor electrical readiness is one of the top causes of delayed installations. Fixing it late is far more expensive than planning for it early.
Learn more about installation needs with this detailed install guide.
Assessing Floor Condition and Structural Strength
The floor under your flap barriers might seem like a minor detail—but it’s not. It plays a critical role in stability, safety, and the long-term durability of your installation. Think of it as the foundation under a building. If it’s weak, uneven, or damaged, everything above it is at risk.
Start by checking what the floor is made of. Concrete is generally the best surface for barrier installation—it’s strong, stable, and allows for secure mounting. But if your floor is wood, tile, or some type of composite, you’ll need to assess whether it can support the weight and operation of the barriers.
Each unit can weigh 40 to 80 kilograms or more. When installed, they endure constant pedestrian traffic and impact from users. If the surface flexes, cracks, or shifts, the barrier may become misaligned or damaged.
Next, evaluate the flatness of the floor. Use a level to detect dips, slopes, or raised sections. Even minor unevenness can throw off the alignment of sensors and make the flaps malfunction. If necessary, floor leveling compounds or base plates can be added to even the surface.
Pay attention to the finish as well. Highly polished floors may require anti-slip treatment to prevent users from slipping near the barriers. If the space is prone to moisture, water resistance and drainage need to be considered too.
An overlooked or poorly prepared floor can jeopardize the entire installation. It’s essential to include this step in your flap barrier site plan.
For an overview of site needs, visit this flap barrier site needs guide.
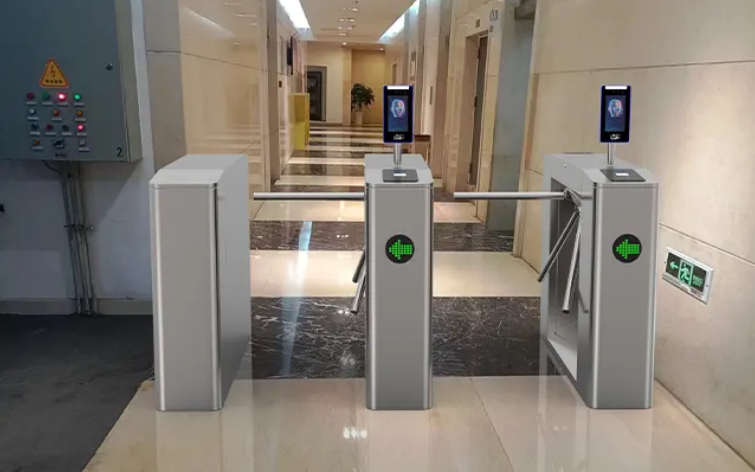
Ensuring Proper Lighting and Site Safety
Lighting isn’t just about visibility—it’s a core part of safety and usability. Proper lighting allows users to see where they’re going, interact with access control devices, and navigate the barrier lanes without confusion. Without it, even the best barrier system can become a hazard.
Start by evaluating current lighting levels in the installation area. Is the entry zone well-lit during all operational hours? Daylight may provide good illumination in the morning, but what about late evenings or winter afternoons? Lighting should remain consistent regardless of external conditions.
Even lighting helps avoid shadow zones that can interfere with sensors or confuse users. Overhead lights should cast uniform illumination over each lane. If there are shadows or dark patches, consider repositioning fixtures or adding new ones. Avoid overly harsh lighting or glare, especially near scanning devices, as this can hinder user interaction with card readers or biometric panels.
Safety signage is another key element. People need clear directions—especially first-time users. Mark entry and exit points with visible indicators. Add warning signs to indicate moving flaps or remind users to scan credentials before entering.
Emergency considerations matter here too. In case of fire alarms or power failures, visibility is critical. Emergency lighting and signs should clearly indicate evacuation routes. Barriers must be configured to unlock or retract automatically in such scenarios.
Consulting site safety standards, such as those from ASIS International, ensures compliance with professional best practices. These standards guide both lighting design and general barrier safety to reduce liability and enhance user experience.
When your site is well-lit and clearly marked, you not only reduce accidents—you build user confidence and ensure smoother traffic flow through the system.
Planning Access Routes for Equipment and Installation
Think beyond the installation spot itself—think about how your team and equipment will get there. Planning access routes is a crucial, often overlooked part of site preparation. Without clear paths, your team may face logistical delays, safety issues, or even damage to the facility.
Begin by mapping the delivery path. Where will the flap barriers be delivered? Is there a loading dock or service elevator? Can heavy equipment be transported through standard doors and hallways without obstruction? These are vital questions, especially in tight office buildings or secured facilities.
Then, consider where materials will be staged. You need space near the installation zone to unpack, organize, and prepare parts. If your site is a busy lobby or entrance, coordinate work outside peak traffic hours. Blocking entrances during rush hours can frustrate users and slow down progress.
Next, ensure the installation team has power access during setup. Temporary power sources, such as extension cables or mobile work lights, may be needed during the prep phase. Confirm in advance to avoid disruption.
Floor protection is another consideration. Transporting heavy barriers across finished flooring can cause scratches or scuffs. Use mats or covers to protect high-value surfaces during movement and installation.
Lastly, coordinate timing with building operations. Avoid scheduling major work during high-security events, facility upgrades, or tenant move-ins. Good timing prevents chaos and ensures a professional install experience.
Smooth access routes enable a smooth project timeline. It’s about more than logistics—it’s about respecting the space and maximizing installation efficiency.
Maintaining Communication Among Project Stakeholders
Even with the perfect flap barrier site plan, a project can fall apart if teams aren’t aligned. Communication is what ties all the pieces together—equipment, timelines, responsibilities, and expectations. Without it, confusion takes over.
The first step is identifying all relevant stakeholders. These usually include the facility manager, electrical team, security department, building owner, and the installation contractor. Each plays a role in getting the site ready, and each needs visibility into the overall plan.
Once roles are defined, communication channels must be clear. How often will updates be shared? Will there be weekly calls or daily progress reports? Who is the go-to contact for field changes or urgent issues? Answering these questions early reduces confusion later.
Documentation is key. All measurements, requirements, electrical specs, and schedules should be recorded and shared in a central platform—whether it’s a project management tool or shared folder. That way, everyone works from the same version of the plan.
Set up a pre-installation meeting at least one week before the scheduled work. During this meeting, walk the site with all parties, confirm final measurements, review safety concerns, and lock in the timeline. Use it to resolve any last-minute questions or gaps.
Clear, ongoing communication keeps the project moving forward and avoids unexpected downtime. It transforms a complex installation into a coordinated operation.
For structured coordination ideas, refer to PMI’s professional project planning resources.
Conclusion
Great installations don’t happen by accident—they’re the result of great preparation. Flap barriers are powerful tools for access control, but only if the site is ready to support them. Every step of your flap barrier site plan matters—from measurements and power to floor strength, lighting, and team communication.
Ignoring prep work is a shortcut to delays, safety issues, and unexpected costs. But with a solid checklist and a clear understanding of installation readiness, your project moves forward with confidence. You’ll stay on schedule, within budget, and with a barrier system that performs as expected.
Start strong. Plan smart. And let the prep guide your way to project success.