Flap Barrier Cost Analysis: Where Your Money Goes

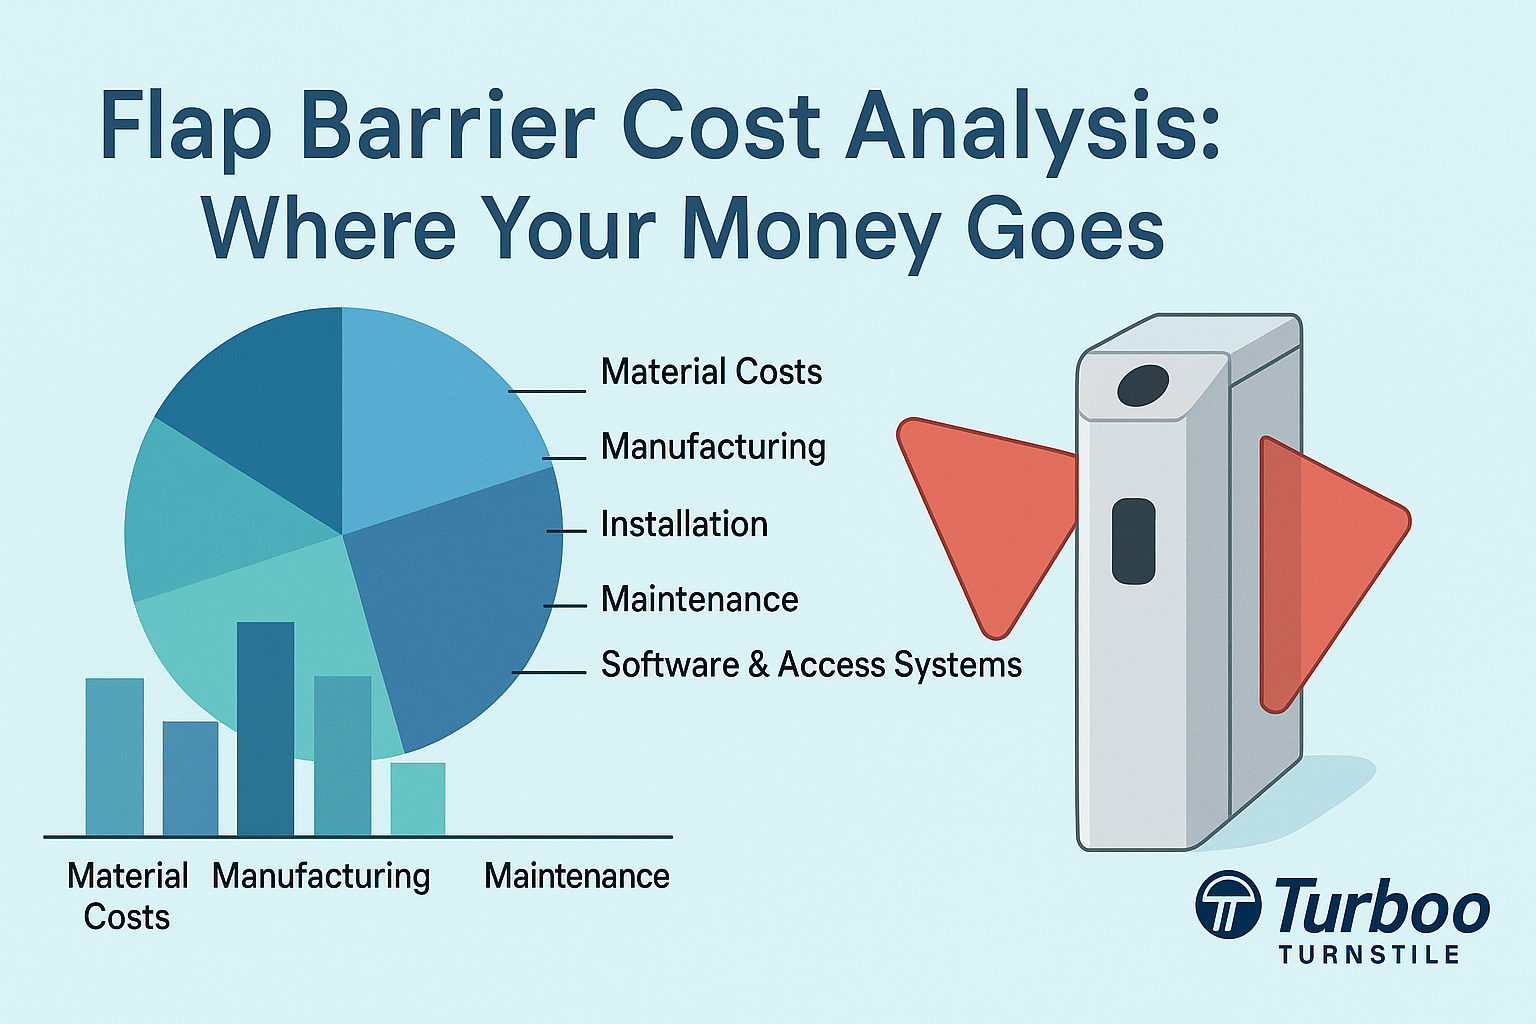
It’s easy to look at the price tag of a flap barrier system and assume that’s your total cost. Many buyers fall into this trap. They focus on the number listed on the quote—maybe the lowest one they can find—and believe the budget is set. But the truth is, that number only tells part of the story. Flap barrier cost is made up of many elements, and if you don’t look deeper, you’ll likely miss key expenses that show up later.
Initial product pricing might seem affordable. But what about installation, wiring, software licenses, or delivery? What happens when you need to rework the site layout or integrate the gate with your existing access control system? Suddenly, the cost has doubled—or worse. These surprises happen when buyers don’t plan for the complete picture.
This guide helps you see all the moving pieces. You’ll learn how each part of a flap barrier project contributes to the final bill. That means fewer budget surprises, better vendor conversations, and smarter purchasing decisions. Whether you’re managing security upgrades or starting from scratch, this breakdown will help you understand where every dollar goes.
Hardware: The Core Investment
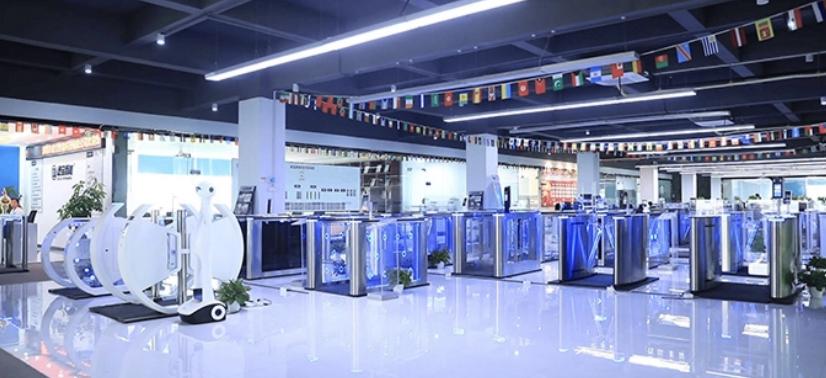
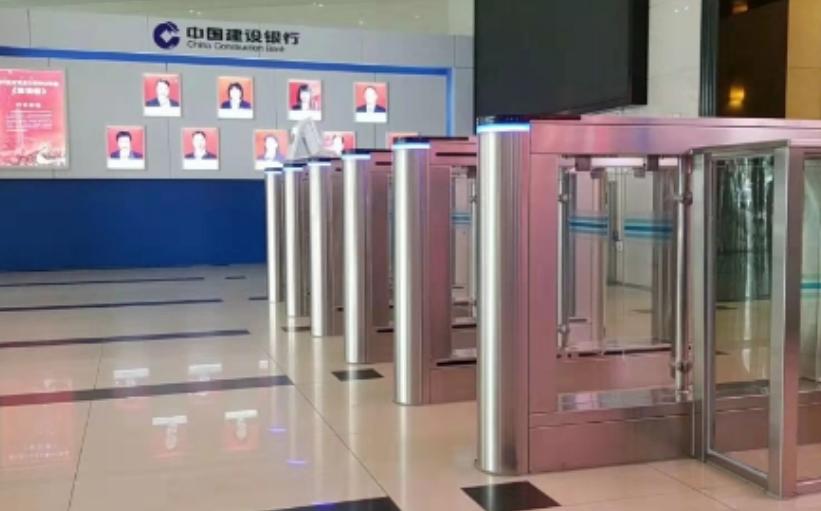
The hardware is the most visible part of the flap barrier cost. This includes the barrier unit itself—the arms or flaps, the motor housing, and the main body that gets anchored to the floor. Most buyers assume this makes up the bulk of the expense. In truth, it’s just the starting point.
What you pay for the hardware depends on several factors. The type of material used—steel, glass, acrylic—affects durability and price. High-grade brushed stainless steel, for example, costs more but lasts longer in heavy-use areas. The motor type also matters. Brushless DC motors are quieter and more reliable than cheaper alternatives, but they add to the unit cost.
Safety sensors built into the unit also affect pricing. These detect obstacles, prevent the flaps from closing on users, and ensure compliance with accessibility standards. More sensors mean better safety—but also higher cost. Anti-tailgating and speed-sensing features add even more.
Brands matter, too. Well-known names usually charge more because of proven reliability and support options. Unknown or generic brands may be cheaper upfront, but if they fail early or lack support, the long-term cost goes up.
In short, when evaluating hardware, you’re paying not just for metal and motors but for engineering, materials, and built-in features that influence system longevity.
Software and Control Systems
Most flap barriers today come with digital controllers. These are small computers or boards that manage how the barrier operates—when to open, how fast to close, and how to respond to inputs from access control devices. While the cost of these boards is often bundled with the hardware, advanced software platforms can be priced separately.
You might also need licenses to connect the barrier to your security system. If the unit integrates with face scanners, fingerprint readers, or card badges, the software must support those devices. Some vendors include basic software for free, but others charge a license fee based on the number of users, lanes, or access points.
Software also needs updates. Some systems require regular firmware upgrades to stay secure and work with new devices. Vendors may charge for support or updates beyond a base period. These are small fees that add up over time—especially in multi-lane or multi-site setups.
User interface also affects pricing. Simpler systems with keypad-only inputs are cheaper. More advanced systems that let you track access logs, generate reports, or control the barrier remotely cost more but offer better functionality for operations teams.
Software is a quiet but critical part of flap barrier cost. Ignoring it can limit system flexibility or lead to higher upgrade fees down the line.
Installation and Labor Charges
Installing a flap barrier isn’t a plug-and-play job. It takes trained technicians, sometimes with security clearances or electrical certifications. Their work involves more than just anchoring the unit to the floor. They align the barrier, connect it to power and software, test each function, and train your staff to use it.
Installation labor can cost as much—or more—than the hardware itself, especially in cities or hard-to-reach areas. Rates vary based on region, complexity, and how many units are being installed. If the job requires working during off-hours or in secure areas, those costs climb even faster.
The installation cost guide helps map this out. It shows why technician fees should be included early in your planning. Skipping this step leads to underbudgeting and delays.
Also consider whether the vendor includes installation in the quote. Some suppliers only sell the hardware. Others offer full setup services—but at a separate cost. Get clear on this before signing any contract.
Site Preparation and Civil Work
Before the flap barrier goes in, the space around it needs to be ready. That means the floor must be even, strong, and properly marked. Sometimes this requires pouring new concrete pads or trimming existing flooring. If your entrance isn’t level or wide enough, civil adjustments may be necessary.
In some buildings, electrical conduits or network lines must be run underground or behind walls. That means trenching, cutting, or drilling—all of which require skilled workers and permits. These are not minor costs. They can match or exceed the price of the barrier itself.
Site prep also includes traffic flow planning. You may need to install guide rails, glass dividers, or floor decals to manage how people approach and exit. Even installing a simple emergency button on a nearby wall adds time and labor.
The budget planning tool helps forecast these tasks. It ensures your team includes these often-forgotten jobs in the upfront budget—not as “extras” that appear later.
Electrical and Cabling Costs
One of the more overlooked parts of flap barrier cost comes from the wiring. These systems require electrical power and often data connections to your access control or security platform. Depending on the location of the nearest power source, this can become a complicated and costly task.
Basic installs might only need a standard outlet nearby. But more often, cabling must be extended through walls or floors. This means using conduits, junction boxes, and sometimes even rewiring parts of the facility to support new loads. It takes time and expertise to do safely and legally.
Beyond power, data cabling is another layer. Barriers often need to link up with a central controller or software. Running CAT6 cables or fiber lines to the barrier location may require cable trays, patch panels, or switch ports. If your IT infrastructure is not near the barrier, routing becomes a bigger job.
Complexity adds cost. If the site layout is challenging—such as long cable runs, thick concrete, or multiple access points—wiring expenses can rise fast. Always involve an electrician or low-voltage installer early to assess what’s needed.
Skipping or delaying these assessments leads to rushed, more expensive fixes later. Including them in your budget keeps the project on track.
System Integration and Configuration
Another part of flap barrier cost comes from making the system work with your existing technology. The barrier is not just a standalone device—it’s usually part of a broader access control ecosystem. That means syncing it with ID readers, time attendance software, alarm systems, or visitor management tools.
Some barriers integrate easily with plug-and-play connectors. Others require custom coding or setup. If your system is older or uses proprietary protocols, integration can become complex—and expensive.
You may also need to buy API licenses or integration modules from your software vendor. These are separate from the barrier cost and can add hundreds or even thousands to your total bill. Testing and configuration also take time. Each sensor, signal, and trigger must be checked to ensure it works reliably.
Integration is not a one-time event either. Over time, software changes or access needs evolve. A system built with flexibility in mind will cost more upfront—but save money when changes are needed later.
Always ask vendors how they handle integration, what’s included, and what’s not. Planning here prevents headaches and rework.
Delivery, Transport, and Handling
Once your flap barrier is built and tested, it needs to get to your location. This might sound simple—but transport adds to total project cost. Barriers are heavy, often fragile, and packaged with care to avoid shipping damage. If you’re ordering internationally, customs and freight fees apply too.
For local deliveries, you may still face costs depending on delivery terms. Does the vendor offer curbside drop-off only? Will they bring it into your building or install it? Are you responsible for offloading?
If your building has stairs, tight hallways, or limited dock access, delivery becomes trickier. In some cases, a crane or lift gate is needed. These extras usually aren’t included in the product quote but must be paid separately.
Also consider insurance. Most vendors only insure shipments to the point of delivery. If something breaks after that—while moving inside the facility—you may bear the cost.
The goal here is simple: talk to your vendor early about how delivery works. Include transport in your quote so it’s not a surprise expense.
Warranties and Extended Support
Warranties protect your investment—and they also reflect the quality of the flap barrier you’re buying. Most systems come with a one-year warranty, but better vendors offer extended options covering two to five years.
This coverage matters because repairs can be costly. A damaged sensor, faulty motor, or broken flap could cost hundreds to replace. If the warranty doesn’t cover labor or replacement parts, you’ll be paying out-of-pocket.
Extended service plans offer more protection. Some include preventive maintenance visits, priority support, or discounted spare parts. These plans add to the cost upfront but often save money later—especially in high-traffic environments.
Be sure to compare warranty terms before buying. Don’t just look at duration—check what’s included. Does it cover power surges? Labor costs? Shipping for replacements?
You’ll also want to understand what happens after the warranty ends. Is the vendor still available? Are parts still stocked? These are part of your long-term cost picture.
Spare Parts and Long-Term Maintenance
Like any mechanical system, flap barriers wear over time. Motors age, sensors drift, and flaps take hits from daily use. Budgeting for spares is a smart move—and another part of real flap barrier cost.
Some vendors sell spare kits with motors, flaps, and control boards. Others offer on-demand parts. Buying spares with your initial order ensures quick repairs and less downtime.
Maintenance should also be planned. Regular cleaning, software updates, and alignment checks keep the system running well. If ignored, small issues become big repairs. Some sites handle maintenance in-house. Others hire third-party technicians.
Whether you self-manage or outsource, there’s a cost to keeping the system reliable. You may need tools, service hours, or contract support. These costs stretch over the life of the barrier and should be included in your financial planning.
If you know your location sees high foot traffic or harsh weather, plan for more frequent maintenance. It’s better to budget now than pay later when the barrier stops working.
Hidden Costs to Watch
Sometimes, the biggest surprises in flap barrier cost come from things that aren’t even listed on the quote. These hidden costs catch buyers off guard—especially when the project involves multiple departments, system upgrades, or strict deadlines.
One common example is staff training. Once the barrier is installed, your team needs to know how to use it, manage access settings, and respond to alerts. Vendors may charge for on-site training sessions, manuals, or virtual walkthroughs. If your system is more advanced, these sessions can be time-consuming and expensive.
System documentation is another detail that adds up. Custom integrations may require full wiring diagrams, operating procedures, or security audit records. These documents help with maintenance and compliance but often come with a price.
Testing and commissioning are critical too. A barrier might be physically installed but still need full function tests under real-world conditions. Technicians check everything—from speed and sensor response to integration with alarms or building controls. These sessions can take hours, especially in larger buildings or secure zones.
Lastly, software updates, hardware upgrades, and component obsolescence are future costs few buyers plan for. Technology moves fast. A system bought today might need a new controller board in five years—or a whole new software version if access protocols change.
When planning your budget, include a cushion for these unknowns. They may seem minor but can snowball quickly in a poorly planned project.
Summarizing With Pricing Guides and Budget Tools
At this point, you’ve seen how flap barrier cost is much more than just a product price. Each piece—hardware, setup, software, wiring, integration, delivery, and upkeep—adds to the total. That’s why smart buyers use tools to manage the full budget early in the process.
Start with a clear pricing factors reference. This helps you understand what goes into different price tiers and why some barriers cost more than others. Then use the installation cost page to map out setup labor, delivery handling, and site readiness.
If your project has a long lead time or spans multiple locations, consult a budget planning tool. These let you forecast costs over time and plan for phased installations, multi-year warranties, and volume discounts.
You should also explore external resources like this cost breakdown for typical access control systems. It shows how professional projects divide costs across labor, software, and operations. For broader financial control, use project planning tools to map your spend across project phases.
Combining all these insights creates one big benefit: visibility. You know where your money goes, why it’s spent, and how to defend your budget with confidence.
Checklist: Key Parts of Flap Barrier Cost
- Flap barrier hardware—unit body, flaps, sensors, and motor
- Control software and user interface tools
- Electrical wiring and data cabling
- Installation labor and alignment services
- Site preparation—trenching, floor leveling, or spacing
- Integration with security or access platforms
- Delivery, freight, and special handling
- Warranties and optional service plans
- Spare parts and preventive maintenance
- Hidden costs—training, documentation, upgrades, and testing
FAQs
Q1: What’s the most expensive part of a flap barrier project?
Labor and installation often cost the most—especially in complex or secure environments. Hardware comes next, followed by integration and software.
Q2: Can I cut costs by doing part of the install myself?
In some cases, yes. But if it affects system warranty or leads to misalignment, the savings could disappear through repairs or downtime.
Q3: How long does it take to install a standard flap barrier?
Simple installs can be done in a day. Complex or multi-lane projects with software integration can take several days or more.
Q4: What’s a good lifespan for a flap barrier system?
With proper maintenance, a quality barrier should last 7–10 years. Cheaper units may require major repairs much sooner.
Q5: How can I avoid cost overruns?
Use budget tools, plan site readiness early, and request detailed quotes. Ask for itemized costs for everything from wiring to support.
Share on Social: