How to Plan a Realistic Flap Barrier Budget

Many buyers jump into security upgrades with good intentions but hit a wall when costs rise. The mistake? They build a budget that only includes the price of the flap barrier itself. What gets left out are the setup fees, wiring needs, software adjustments, site modifications, and support plans that follow. That’s why underestimating your flap barrier budget can stall a project fast—or force you to accept a system that underperforms or won’t last.
A smart budget starts with the full picture. You don’t just pay for a product—you pay to make that product work in your space, with your staff, and within your operational goals. That means going beyond equipment cost and thinking about labor, prep, and long-term upkeep.
This guide will help you think through every part of your flap barrier budget. You’ll learn how to break costs into clear groups, use vendor input to estimate accurately, and avoid common traps that inflate expenses later. With better planning, you can keep your security project on track without surprises or slowdowns.
Start With the Full Cost Breakdown
When planning your flap barrier budget, start by understanding that your purchase is only one part of a much bigger cost structure. The main categories include hardware, installation, site readiness, software configuration, and post-sale service. Each of these comes with its own expenses—and skipping even one can throw off your final numbers.
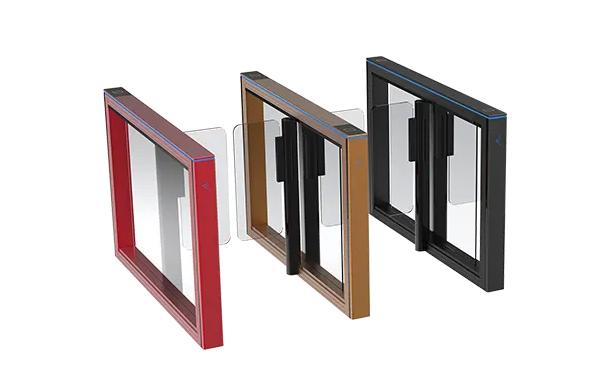
Hardware refers to the flap barrier unit itself. But even here, pricing varies depending on brand, material, and features. A stainless steel model with anti-tailgating sensors and high-speed motors costs more than a basic model with plastic flaps and fewer safety checks. That means your choice of model affects every step that follows.
Installation is another large and often underestimated cost. You need skilled technicians to align, power, and configure the gate. You may also need permits or work during off-hours, which adds to labor rates.
Site conditions also affect cost. If your entrance area isn’t level or lacks nearby power outlets, you may need concrete work, trenching, or new cable paths. These aren’t always visible during planning, so a site inspection is crucial.
Finally, think beyond setup. After-sales service, regular maintenance, and software updates are ongoing costs that need a place in your flap barrier budget. A good cost plan includes the full system lifecycle—not just the purchase date.
Choose Features Based on Need and Scale
Not every building needs the same type of flap barrier. A small office with 100 daily entries has different needs than a stadium managing tens of thousands. That’s why picking the right features is key to staying on budget without overbuying or compromising.
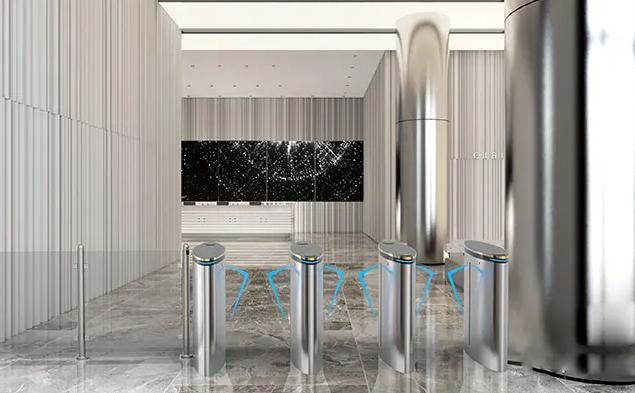
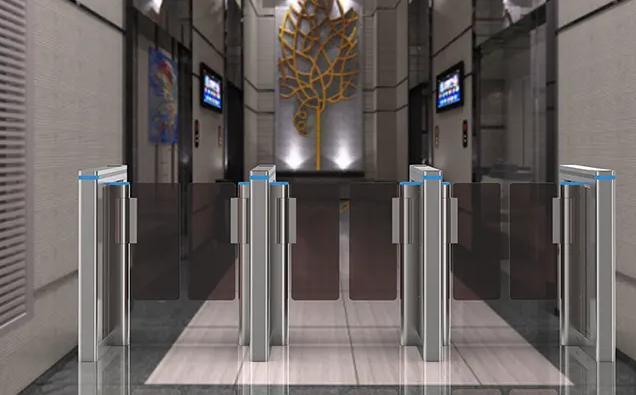
Start by matching your flap barrier to the volume of traffic. High-traffic areas need fast motors and durable parts that can handle frequent openings without overheating or failing. These features raise the unit price, but they also reduce breakdowns and support calls later.
Then consider safety needs. Do you need anti-pinch sensors or tailgating prevention? Will the gate be used by people with mobility devices or children? If yes, you’ll need models with more sophisticated safety checks. These cost more but protect both users and the business from risks.
Integration features are another cost driver. If you plan to connect the barrier to facial recognition, time attendance, or elevator controls, you’ll need compatible hardware and software. Some models offer modular upgrades—others require buying new systems altogether. Clarify this with the vendor early on.
Scalability also matters. If you might add more lanes or entrances later, choose a system that supports expansion. That may cost more upfront but saves money by avoiding a full system replacement later.
Don’t Forget Setup and Integration Costs
After you buy the flap barrier, the real work begins—installing and integrating it into your building’s infrastructure. These steps involve more than unpacking the unit and plugging it in. They require electrical work, control system configuration, and sometimes IT coordination.
Most barriers need access to a steady power supply. If the nearest panel is far away, cabling and conduit work will be required. Data cables must be run to integrate with access systems, which may involve cutting through walls, floors, or ceilings.
Integration with security systems—such as card readers, face scanners, or door locks—requires both hardware compatibility and software configuration. This takes time, especially in complex setups or older buildings. Some systems need middleware, firmware updates, or new drivers.
Testing is also part of setup. You’ll need to verify that the flap barrier opens and closes correctly, responds to access signals, logs entry data, and triggers alarms when needed. Technicians must test different scenarios, from valid access to forced entry attempts, to ensure safety and function.
These services are essential—but often excluded from the initial quote. Make sure your flap barrier budget includes full install and integration costs to avoid delays or unplanned spending.
Plan for Long-Term Service and Maintenance
A flap barrier isn’t a one-time cost. Once it’s running, it needs ongoing care to stay effective and safe. That means your flap barrier budget must include service agreements, spare parts, and potential upgrades over time.
Most vendors offer one year of warranty support. After that, you’ll need a maintenance plan to cover future issues. This could include regular inspections, software updates, motor recalibration, or sensor replacement. If ignored, these issues lead to failures or unsafe use.
Spare parts are another hidden cost. Depending on your vendor, you may be required to keep parts on-site for fast repair. If not, ordering them later—especially for imported systems—can take weeks and cost extra.
Also think about technology updates. If your access control system changes or new safety rules are introduced, you may need to upgrade firmware or replace parts to stay compliant.
Your flap barrier should last 7 to 10 years if maintained properly. That means budgeting not just for today—but for every year it remains in use.
Use Tools and Resources for Estimation
Estimating your flap barrier budget doesn’t have to be a guessing game. There are many tools and expert resources that can help. By using guides and calculators early in your planning, you can build a budget that’s realistic and defendable.
Start with a detailed cost analysis. It shows how each line item—hardware, labor, software, prep, and service—adds to the total. These breakdowns use real-world data from past projects and help you see where money typically goes. You’ll also be able to compare different levels of investment based on system type and usage.
Use pricing factors to understand what makes one unit more expensive than another. This will help when evaluating quotes or selecting between product tiers. You’ll see how build materials, motor speed, sensor technology, and design options change the price.
For full project support, refer to the buying guide. It offers planning tips, vendor questions, and timeline checklists. You can use this to create your own procurement brief or share it with stakeholders to align expectations.
External resources are useful too. The budget strategies provided by professional procurement groups offer insights on how to structure capital requests, stagger funding, and build contingency plans. The cost estimation tools from security associations help map expected spend based on building size, traffic level, and threat risk.
Using these tools doesn’t just improve your numbers—it improves your confidence in presenting and defending your budget.
Add a Realistic Buffer for Surprises
Even with perfect planning, unexpected costs can show up. A trench may need to be deeper than expected. A power panel may be too old to handle new loads. A last-minute security audit might trigger a need for new safety sensors. That’s why every flap barrier budget needs a buffer.
A good rule of thumb is to add 10 to 15 percent to your total estimated cost. This buffer isn’t there to spend casually—it’s protection for when something shifts, breaks, or delays. It also makes your budget flexible during vendor negotiations, especially when small add-ons like custom wiring, software extensions, or fast-track shipping come into play.
Without a buffer, every new request becomes a crisis. Procurement has to scramble for approval, timelines slip, and relationships strain. With a buffer, your team can handle surprises professionally, keep the project moving, and avoid asking for more money mid-rollout.
It’s also easier to get approval for a budget with a clear cushion than to request extra funds after a miscalculation. Project managers and CFOs respect plans that build risk protection into the estimate.
Think of the buffer as an investment in confidence—not just in the barrier, but in your team’s ability to manage change without disruption.
Common Reasons Flap Barrier Budgets Fail
Many projects start with enthusiasm and good ideas—but run into trouble when real-world costs appear. One common issue is ignoring power supply needs. Buyers assume the barrier can plug into any nearby outlet, but many systems need direct power runs, surge protection, or new electrical panels.
Another common failure point is trenching and cabling. If your layout needs underground wiring, but the team hasn’t scoped the trench depth or conduit path, the cost can balloon. Delays waiting for permits or construction access only make it worse.
Integration is another trap. Buyers often focus only on hardware and forget to ask how the system connects to their existing access control or building automation. If software updates or third-party devices are required, they often bring unplanned charges.
Vendor timelines also hurt budgets. If your project depends on a vendor being available on a certain date and they’re not, you may have to pay more for rush delivery, overtime work, or temporary security fixes.
These issues don’t mean flap barriers are risky—they just mean your budget needs to account for reality. Including extra time, space, and funding for integration and prep keeps your project from stalling.
Use Strategic Budgeting Advice
You don’t have to create a flap barrier budget alone. Many professional associations offer budgeting models tailored to infrastructure and security planning. One helpful source is the National Institute of Governmental Purchasing, which provides strategies for creating public-sector budgets with contingency and multi-phase structure.
If you work in a commercial environment, use the ASIS International cost estimation guidance. It breaks down costs by type of barrier, traffic volume, and usage profile. These templates help you compare your project against standard benchmarks and make smarter trade-offs.
You can also consult experienced vendors or contractors. Ask them to review your draft budget and offer feedback. Good vendors will share cost data from similar jobs or provide checklists to ensure you haven’t missed anything.
Strategic budgeting is more than math. It’s about knowing where risks hide, how costs change over time, and what steps create the smoothest path to approval. The more you rely on expert guidance, the stronger your proposal—and the better your results.
Checklist for a Realistic Flap Barrier Budget
- Equipment cost—unit price based on brand and features
- Installation fees—labor, tools, and scheduling
- Power supply setup—electrical wiring and panels
- Cabling and data—trenching or conduit work
- Software licensing and integration costs
- Site preparation—floor leveling or space adjustments
- Maintenance planning—spares and service contracts
- Training and documentation costs
- Vendor delivery and handling fees
- Buffer for project changes or unexpected needs
FAQs
Q1: What’s the biggest cause of flap barrier budget overrun?
The most common reason is underestimating installation or electrical work—especially in older or high-traffic buildings.
Q2: Can I use average costs for budgeting?
Averages help as a starting point, but site-specific quotes give the most accurate numbers. Always use real project input when possible.
Q3: Should I budget for future upgrades?
Yes. Systems often need updates as access control tools evolve. Building in future flexibility avoids re-purchase costs later.
Q4: Is it better to get installation from the vendor?
In many cases, yes. Vendors offer better integration and warranty support when they control the install.
Q5: How do I explain the buffer to management?
Present it as a risk protection plan. It ensures the project stays on track even if prices shift or small issues arise.
Share on Social: