

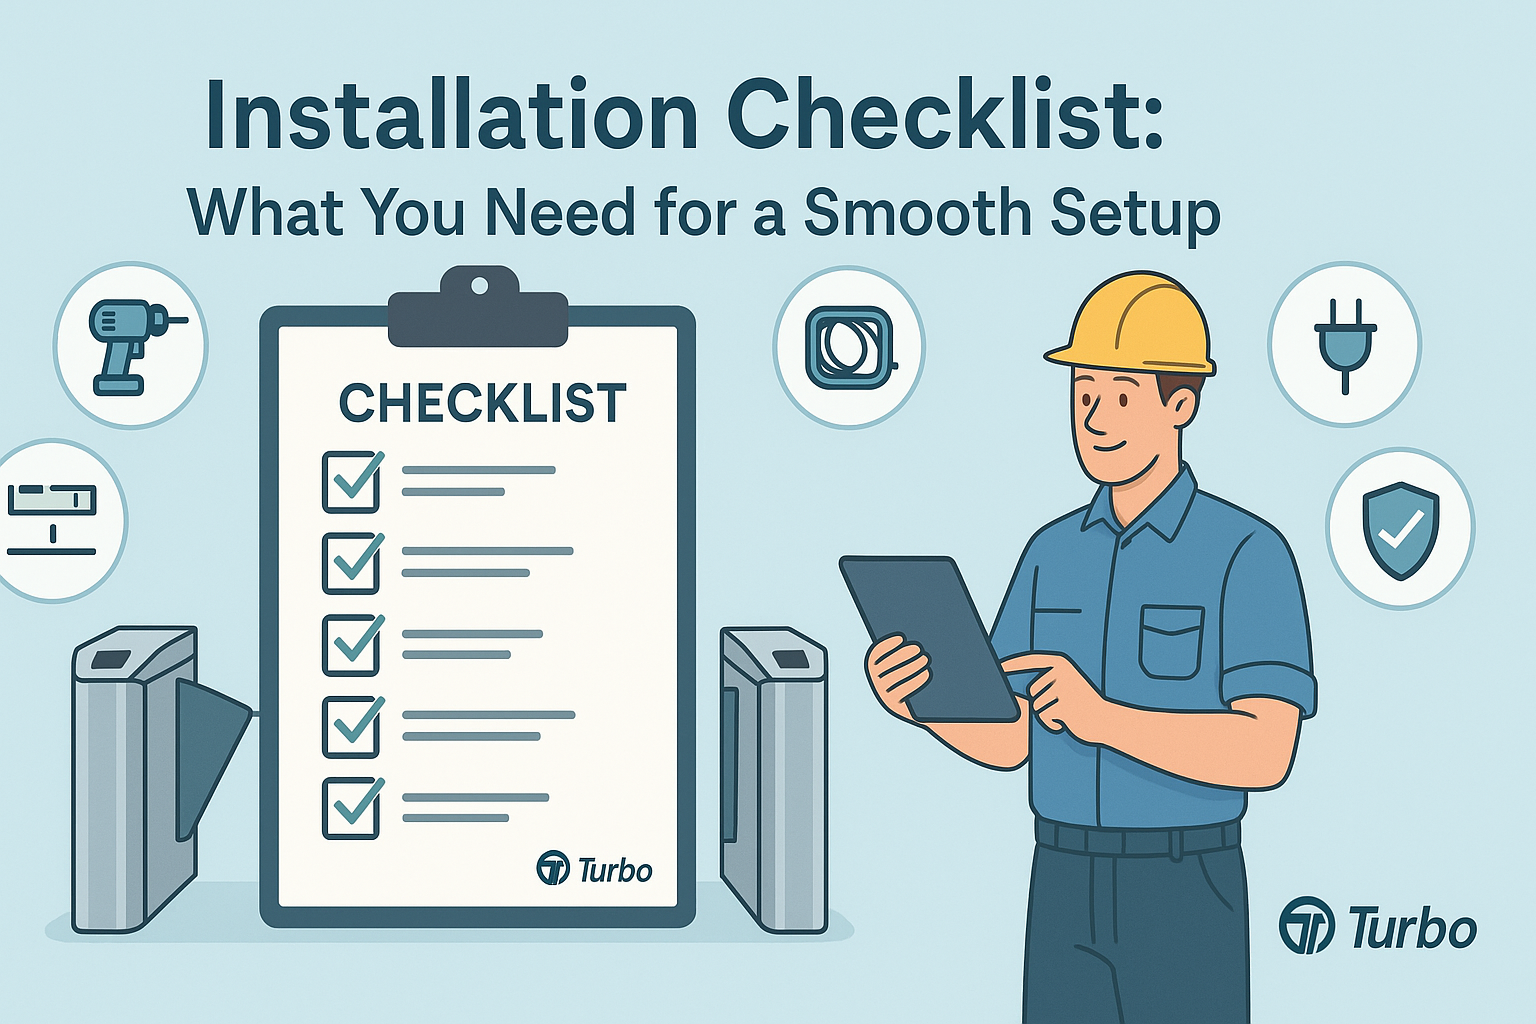
Installation Checklist: What You Need for a Smooth Setup

Flap barrier installations may seem routine. But they often go off track when just one detail is missed. A forgotten tool, an unread manual, or a cluttered site can derail the timeline before the real work even begins. What should be a half-day job can suddenly stretch into two, costing both time and money.
That’s why this guide exists. Too often, teams jump into installs without reviewing the full picture. Even experienced crews can overlook essentials. The result? Delays, rework, and unhappy clients. A smart plan starts with a complete flap barrier checklist—one that ensures every step, tool, and safety measure is ready to go.
This article walks you through every critical piece of your barrier setup process. From site conditions to electrical tools, from technical documents to team coordination, each part plays a role. When you check off every requirement, you guarantee a faster, cleaner, and more professional outcome.
By following this setup checklist, you’re not just installing gates. You’re building trust, protecting your reputation, and saving your team from last-minute stress. Ready to take control of your next installation? Let’s start with the first and most important step—equipment readiness.
Equipment Readiness
Nothing slows down an installation like discovering missing parts or faulty components on the job site. Before heading out, teams need to confirm that every piece of the flap barrier is present, functional, and ready for integration. That means opening each box, verifying serial numbers, and checking for signs of shipping damage.
Flap barrier systems come with motors, sensors, flaps, brackets, mounting bolts, and often integration kits for access control. A simple oversight—like leaving a power adapter behind—can cause frustrating delays. If your team has to leave the site to fetch a missing part, it throws off your timeline and adds labor costs.
More importantly, equipment readiness affects your confidence. Installers who know everything is in order can work faster and more smoothly. They spend less time troubleshooting and more time doing what they do best—getting the barrier operational.
This step also includes firmware and software checks. Some flap barriers come with embedded firmware or need configuration apps. If those aren’t updated or available, even a perfectly installed unit can sit inactive. That’s why the flap barrier checklist should always begin at the warehouse or staging area. Confirm everything before you roll out.
By double-checking all physical components and testing for power and movement ahead of time, you’re setting the stage for a trouble-free setup. And when things go smoothly from the start, the entire project feels more controlled and efficient.
Site Conditions
No equipment can perform well in a poorly prepared environment. That’s why checking the site conditions is an essential part of the installation checklist. It’s not enough to know where the flap barrier is going. You need to know the floor is level, the entryway is clear, and that nothing will interfere with the unit’s operation.
Unstable or uneven surfaces can cause misalignment, leading to premature wear or motor issues. Debris on the floor can damage flap arms during testing. And poor lighting can make it hard to perform wiring or sensor calibration correctly. Each of these issues is preventable—but only if you assess site readiness ahead of time.
You also need to confirm spacing. Is there enough room for the barrier’s full opening cycle? Can users move comfortably through without bottlenecks? If the area is too tight, user flow becomes awkward, and you risk safety violations.
The best approach is to follow a documented site prep procedure. This includes inspecting power sources, measuring floor elevations, and verifying distances between access points. Take time to mark cable paths, wall brackets, or any embedded components before you drill or mount.
Ignoring the site means gambling on things going right. But when you review and prepare properly, your flap barrier functions the way it was designed. And your team finishes faster with fewer surprises along the way.
Wiring Tools and Electrical Readiness
The flap barrier won’t do much without a stable power source and the correct wiring setup. That’s why electrical tools are a core part of any installation checklist. You need more than just screwdrivers. Proper installation requires crimpers, voltage testers, continuity checkers, wire cutters, and sometimes even network analyzers depending on the access system.
Safe connections demand attention to voltage compatibility, surge protection, and grounding. Teams often assume power is available only to discover mismatched outlets, circuit breakers, or unsafe wiring conditions. Without the right tools, there’s no way to resolve those issues quickly.
Some wiring tasks are more delicate. Integrating a flap gate with a biometric reader or RFID scanner means handling low-voltage signal cables. These can’t be bent sharply or installed near heavy power lines. Routing them incorrectly can cause interference or signal loss.
Following a professional wiring guide helps ensure accuracy. These guides provide layout diagrams, color codes, and step-by-step instructions to minimize mistakes. Teams should always have printed or digital versions on-site, ready for review.
Electrical readiness also includes cable lengths, connector types, and the availability of backups. When everything is wired correctly the first time, your setup becomes faster, safer, and more reliable.
Safety Gear and Protocol Compliance
Every professional installation should meet legal safety standards. That includes the personal protective gear your team wears and the procedures they follow. Skipping this part doesn’t just risk injury—it opens you to liability if something goes wrong.
Installers working with flap barriers deal with electrical equipment, sharp tools, and moving mechanical parts. That makes gloves, eye protection, and hard-toe boots standard. If the installation is in a public area or busy facility, high-visibility vests and safety signage are also necessary.
Beyond gear, OSHA-compliant safety protocols must be followed. These include lock-out/tag-out procedures when working with electrical circuits, proper lifting techniques when handling heavy units, and using ladders safely.
Installations often happen under pressure. But no timeline is worth rushing through tasks that can harm your team or damage the equipment. A good flap barrier checklist always includes a section on safety gear. It’s not just about legal compliance—it’s about respect for the people doing the work.
And when clients see your team following protocols and wearing the right gear, it reinforces their confidence in your professionalism.
Technical Documents and Installation Guides
One of the most underestimated but essential parts of any flap barrier checklist is having all technical documents on hand. This includes manuals, configuration charts, software guides, and installation blueprints. Teams that rely on memory or guesswork often find themselves wasting time trying to “figure it out” on-site.
Modern flap barriers can come with advanced features—sensors, timers, integrations with access control software, or network modules. Missing just one setting can cause a functional failure. That’s why printed manuals or downloaded guides should be reviewed ahead of the job and kept close during the setup process.
When problems arise—and they often do—manuals provide the troubleshooting steps you need. They clarify calibration routines, explain error codes, and show how to reset or reboot the unit safely. Without these references, you risk unnecessary trial-and-error delays.
Using a reliable install guide ensures that your installation follows manufacturer-approved practices. It outlines recommended tools, mounting instructions, wiring sequences, and calibration workflows. This can cut your install time by hours and significantly reduce post-install service calls.
Documentation also supports quality assurance. Clients want to know their system was installed to spec. Having the guide lets you document each completed step and confirm compliance with product requirements.
Simply put, bringing technical documents isn’t optional—it’s a barrier setup essential. It empowers your team to install with clarity and confidence, reducing stress and enhancing results.
Team Coordination and Pre-Setup Briefing
No checklist is complete without planning for the people involved. Team coordination may be the most important factor in ensuring a smooth installation. Even if every tool and document is ready, confusion among team members can delay progress and lead to costly mistakes.
A pre-setup briefing allows everyone to align on the task ahead. This includes reviewing the layout, assigning roles, and identifying critical milestones in the installation sequence. Each person should know what they’re doing and when. Without this, tasks overlap, cables get mislabeled, or key steps get missed altogether.
During the briefing, the team leader should cover the installation plan, tools checklist, safety protocols, and expected outcomes. It’s also the right time to bring up any site-specific concerns—like limited space, power outages, or restricted working hours.
Coordination doesn’t stop after the meeting. Throughout the install, team members must communicate effectively. When one part of the job changes, the rest of the crew needs to know. That could be a shift in cable paths, a missing connector, or an updated configuration from the client.
When everyone understands the mission and works in sync, setup becomes faster and more precise. Errors are caught earlier, and the team adapts smoothly to changes.
Poor coordination often results in work being redone, either because steps were skipped or done incorrectly. Taking a few minutes to sync your team before the job starts pays off in hours of saved time and a higher quality install.
Barrier Setup Essentials Explained
Every successful installation is built on a handful of essentials. These are the core items and tasks that must be in place for the barrier setup to proceed smoothly. Without them, even the most experienced teams can fall behind. The flap barrier checklist helps ensure that nothing gets missed, especially under tight deadlines.
Barrier setup essentials go beyond just tools. They include having a stable power supply, updated firmware, compatible access control systems, and all the correct mounting hardware. If just one element is missing, your setup either stalls or has to be patched together, which compromises long-term performance.
Think of essentials like ingredients in a recipe. Missing one ingredient changes the entire outcome. That’s why verifying these requirements beforehand is crucial. When the barrier arrives on-site, it should go from box to operational without needing workarounds or last-minute replacements.
Many setup delays come from assumptions—assuming the network is ready, assuming a bracket fits, assuming the team has the right wrench. Avoiding these assumptions means building a routine that checks each element before the day of the install.
By treating these essentials as non-negotiables, you create an installation environment where success is the standard. And that approach pays off with every smooth, on-time project your team completes.
Tools and Materials Verification
Imagine getting to a site only to realize the core drill is missing, or your cable tester is broken. It’s a common situation—and completely avoidable. Tools and materials verification is a simple step, but one that can save hours and major frustration.
Before every install, all tools and materials should be reviewed, tested, and packed properly. That means checking power tools, hand tools, measurement devices, cable spools, fasteners, mounting kits, and safety gear. If something’s worn out, it should be replaced before the truck leaves the warehouse.
Teams should also verify material compatibility. Are the bolts the right length for the floor thickness? Are the cables rated for outdoor use if the install is in a semi-exposed area? These kinds of checks help prevent awkward workarounds and late-day runs to the hardware store.
This task often gets skipped when installers assume the gear they used last week is still in good condition. But tools wear out, break, or get misplaced. The few minutes it takes to verify your materials can be the difference between a 4-hour install and a full-day job.
Reliable teams create tool verification checklists and assign responsibility to a crew member. That creates accountability and consistency. And when you’ve got the right tools in top condition, your installation flows without a hitch.
Communication and Walkthrough Planning
Before any barrier gets installed, the team should conduct a walkthrough of the installation area. This helps identify potential obstacles that aren’t obvious on paper. These might include unexpected power outlets, tight corners, or glass walls that affect sensor calibration.
The walkthrough is also when communication systems should be confirmed. How will team members coordinate across a noisy site? Will radios be used? Is there a group chat or shared task list? Clear communication is essential, especially if your install involves different disciplines—like electricians, IT, and access control integrators.
The goal of a walkthrough is to think like a user and spot anything that could go wrong. Does the flap barrier block a fire exit? Is there a natural flow for foot traffic? These questions help the team adjust plans before the first drill hits the floor.
Once complete, the walkthrough ensures that everyone understands the job from both a technical and logistical point of view. And when the full team sees the plan in action, they’re more confident, more aware, and more likely to catch problems early.
Ensuring Network and Power Access
No matter how polished your hardware is, the flap barrier won’t function without stable network and power connections. Verifying these in advance prevents frustrating on-site surprises like dead outlets or missing Ethernet ports.
Check for available power circuits with the correct voltage. Isolated circuits are ideal to avoid interference or overloads. Confirm grounding points are clean and accessible. Surge protectors should also be tested to shield sensitive electronics from damage.
Network readiness is just as critical. Some barriers require static IP addresses, MAC address registration, or firmware updates delivered via LAN. Without reliable access to the building’s IT systems, those setups grind to a halt.
Pre-planning with the site’s IT and facilities teams makes a major difference. Their input ensures that all digital integration points are available and secure. When these details are sorted before install day, the system can be brought online as soon as the physical work is done.
Storage and Handling of Hardware
Flap barrier systems are sensitive. Mishandling them—even during unpacking—can cause invisible damage that leads to future failures. That’s why proper storage and careful handling are essential parts of the flap barrier checklist.
Units should be stored in a clean, dry, and secure location before install. Boxes must stay upright, away from sharp impacts or extreme temperatures. When transporting to the install area, use padded carts or manual handling tools to avoid denting frames or scratching flaps.
Improper handling can bend internal tracks, dislodge wiring, or loosen sensors. These are not always visible until testing fails—by then, the damage has already been done.
Care also applies to unpacking. Opening boxes too quickly or using sharp tools can slice through cables or scratch polished surfaces. Taking a few extra minutes to move and unpack carefully protects the integrity of your equipment and the quality of your work.
Scheduling and Task Sequencing
Every great installation depends on timing. Good scheduling ensures tasks don’t overlap or interfere with each other. Bad sequencing results in team members standing idle or having to redo work because one step jumped ahead.
Tasks should follow a logical order—site prep first, then equipment staging, followed by mounting, wiring, and final configuration. Within those steps, detailed sequencing matters. Wiring must follow mounting, not the other way around. Testing should only begin after calibration.
Creating a daily schedule with time blocks helps the crew know what’s next and plan accordingly. It also helps manage fatigue, focus, and resource use. When your schedule supports the task flow, the project feels structured and controlled.
Environmental Readiness Factors
Finally, don’t forget about the environment. External factors like heat, dust, or poor lighting can disrupt your setup more than any tool or missing wire.
Too much heat may affect the flap gate’s internal sensors during calibration. Dust and debris can get into moving parts. Low light makes it hard to read manuals or follow wiring diagrams. And wet floors or humidity can compromise adhesives and mounts.
Inspect these factors ahead of time and make adjustments. Bring extra lighting, clear debris, or request HVAC adjustments when needed. The environment your team works in will affect both speed and quality.
Flap Barrier Installation Checklist
Here’s a quick-reference checklist to summarize your setup requirements:
- Tools and Equipment – Confirm all parts and tools are present and working.
- Site Prep – Level the floor, clear the area, and mark placement zones.
- Wiring Tools – Bring testers, crimpers, cutters, and follow the wiring guide.
- Safety Gear – Include gloves, goggles, boots, and OSHA-approved practices.
- Technical Docs – Carry manuals, diagrams, and install guides.
- Team Coordination – Assign roles, conduct a briefing, and set a daily plan.
- Network/Power Check – Confirm outlets, surge protection, and data access.
- Storage & Handling – Transport and unpack units carefully.
- Task Scheduling – Sequence each task to avoid overlaps and idle time.
- Environmental Conditions – Assess lighting, weather, and cleanliness.
Conclusion – Setups Done Right, Every Time
Smooth installations don’t happen by accident. They’re the result of preparation, communication, and commitment to every detail. The flap barrier checklist is your best defense against delays, confusion, and rework. It ensures you have the tools, environment, and team alignment to get it right the first time.
Following this guide doesn’t just save time—it builds confidence. Clients notice when a project goes off without a hitch. They remember fast setups, clean workspaces, and responsive teams. Those impressions lead to repeat business and a reputation for excellence.
So the next time you prepare for a flap barrier install, start with this checklist. Bring your tools. Review your documents. Walk the site. Align your team. And go in knowing that you’re ready for anything.
FAQs
Q1: What’s the most commonly forgotten item in barrier installs?
Wiring tools and connectors are often left behind or mismatched. Always verify tools before leaving the shop.
Q2: Do I really need manuals if I’ve done this model before?
Yes. Even slight model updates can change wiring sequences or calibration steps.
Q3: What’s the biggest environmental issue during setup?
Poor lighting is a major problem—it slows work and increases the risk of wiring errors.
Q4: How early should I prep the site before the install date?
Ideally, 24–48 hours in advance. This allows time to fix any layout or power issues.
Q5: Is a team briefing necessary for small installs?
Yes. Even for short jobs, a quick alignment on roles prevents missteps and confusion.
Share on Social: