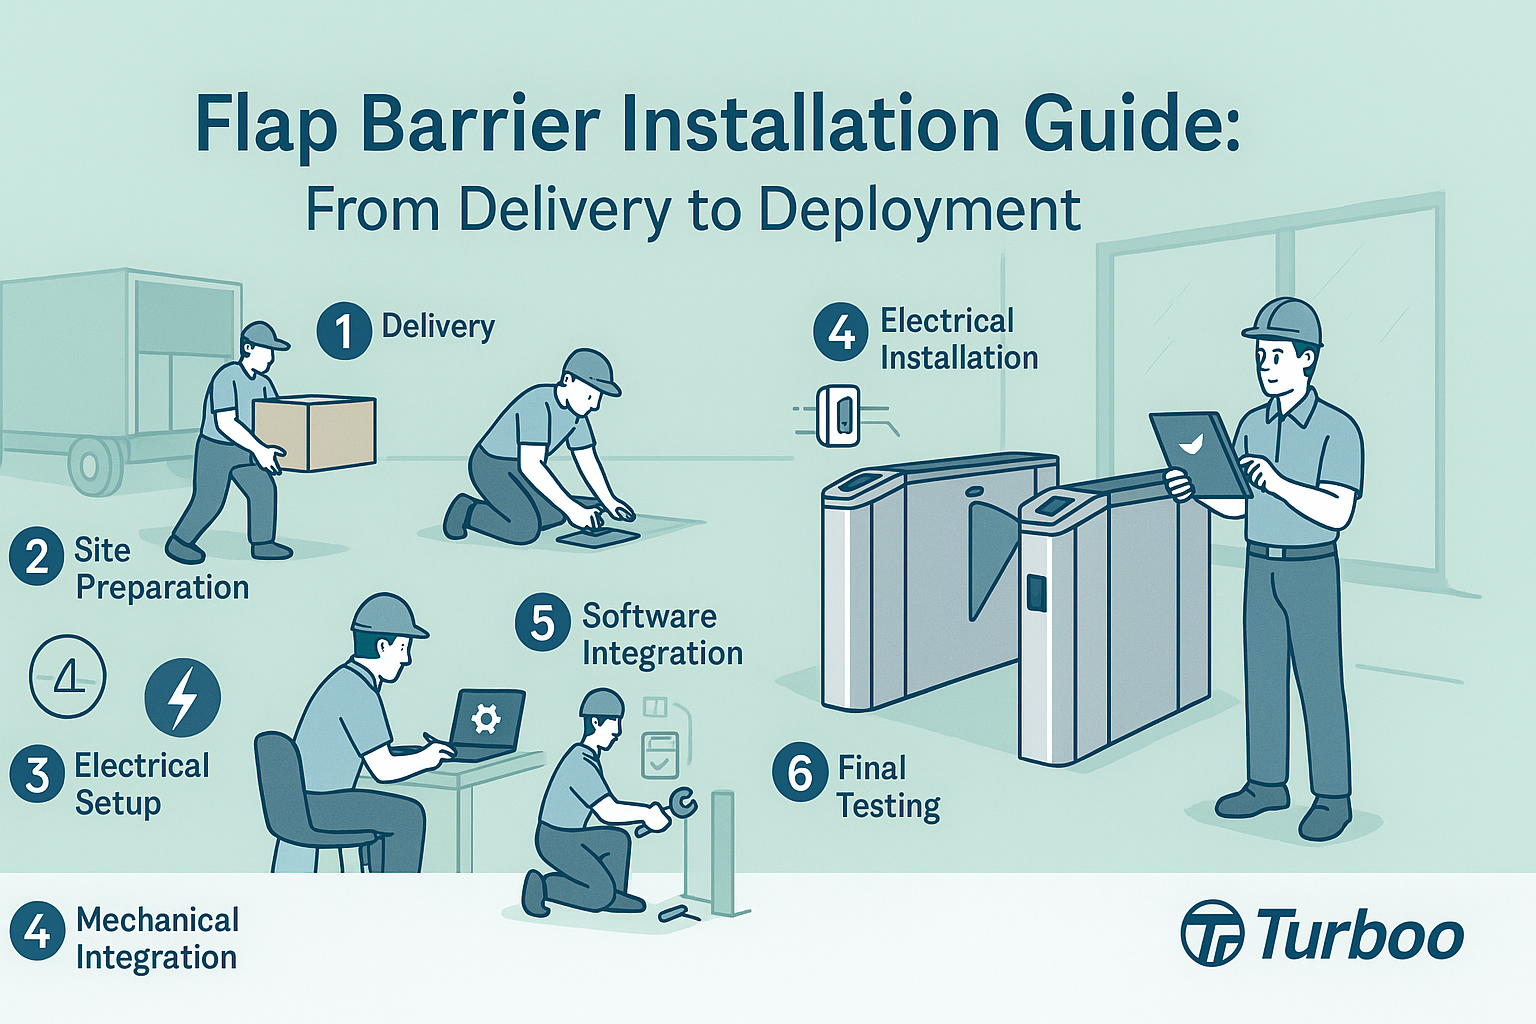
Flap Barrier Installation Guide: From Delivery to Deployment

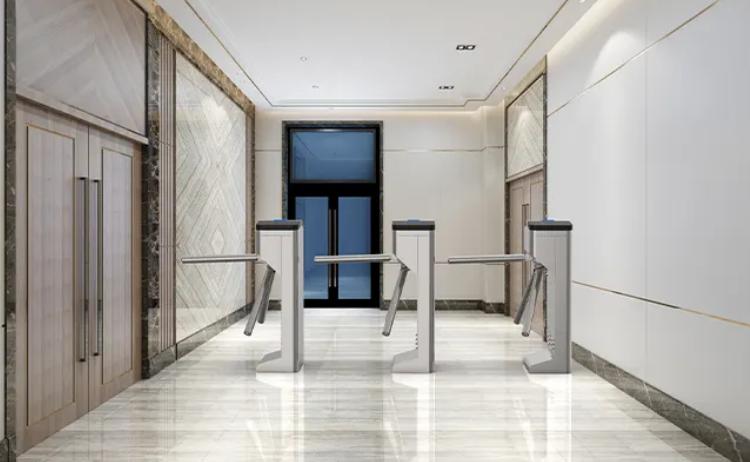
Installing a flap barrier is not just about putting hardware in place. It’s a multi-step process that starts with receiving the equipment and ends only when the system works properly with real users. In between, there are plenty of places where mistakes can happen—especially if planning is rushed or skipped.
Delays are often caused by things as simple as a missing cable or a misaligned drill hole. These small issues snowball into bigger costs when installers have to come back, users are locked out, or safety is compromised.
This guide is designed to walk you through the full flap barrier installation process in a clear, practical way. From delivery to final deployment, each phase is explained to help you avoid confusion and finish the project on schedule.
If you’re a security project manager, a facility operator, or part of an installation team, this step-by-step guide is built for you. By following the barrier setup process outlined here, your system will go live without stress, errors, or costly rework.
Managing Delivery Logistics Without Damage
The flap barrier journey begins at delivery. This first step might seem basic, but it’s critical. Many problems later in the process start right here—because the shipment wasn’t checked, or components were damaged during handling.
Always schedule delivery when the site is ready to receive it. That means the receiving area should be clear, dry, and secure. Flap barriers are heavy and sensitive. They need protection from weather, dust, and careless movement.
When the shipment arrives, inspect every box carefully. Look for signs of crushing, holes, or water damage. If anything looks wrong, note it on the delivery slip before signing. Take photos. Report it to the vendor immediately. This protects your warranty and speeds up replacements.
If the equipment can’t be installed the same day, store it upright in a secure location. Keep it on the original pallet if possible. Don’t stack items or place them directly on wet or uneven floors.
If you’re unsure about unpacking or prepping barriers for installation, check this: Install Flap Barriers Guide
Handled properly, delivery is a smooth start to a successful install. Rushed or careless handling at this stage only leads to trouble later.
Preparing the Site for Installation
After the barrier arrives, the site needs to be ready. Site preparation is the foundation for every part that follows. Without it, even the best hardware will underperform.
Start by clearing the area. Remove any furniture, fixtures, or debris. The floor should be clean, flat, and free of cracks or raised edges. Uneven flooring causes the flap barrier to tilt, which affects arm movement and sensor alignment.
Measure the exact location where the barrier will go. Use the layout plan or vendor template. Mark anchor points, check wall clearance, and review how foot traffic will flow. Make sure there’s enough room for people to approach, scan, and pass through without bottlenecks.
Also confirm power and network access. There should be nearby electrical lines and data ports. If you need to pull cables, plan that now. Routing power later or working around missing cables causes delays and extra labor.
Think about ventilation and lighting too. If the barrier is in a dark or poorly ventilated area, users may struggle to scan badges or see indicator lights. Fix these issues before drilling.
For a full review of what to check, refer to this Flap Barrier Checklist
Proper site prep ensures the install goes smoothly and avoids surprises during mounting or testing.
Mounting the Flap Barriers Securely
Once the site is ready, it’s time to install the barrier physically. This step must be done with care. A crooked or unstable unit leads to performance issues, repeat service calls, and safety concerns.
Begin by placing the barrier in the marked position. Use the manufacturer’s template to align the base. Double-check alignment with doors, walls, and paths. The goal is to keep the barrier straight and centered so users walk through naturally.
Drill holes as indicated. Use the right anchors for your floor type—concrete, tile, or wood. Don’t overtighten bolts yet. First, level the barrier using a laser or spirit level. Adjust as needed before making final tightening passes.
Check spacing around the flap arms. When they swing open, they should clear walls, furniture, and people without interference. If space is too tight, users may bump into arms or sensors, which triggers false alarms or wear and tear.
After mounting, do a quick physical test. Move the flap arms manually if possible. They should swing freely without binding or rubbing against the frame.
Final placement accuracy makes the difference between a reliable install and one that needs constant attention. Always secure the barrier solidly and safely before powering up.
Wiring and Software Setup
With the unit mounted, it’s time to connect power and software. This is where the system goes from physical structure to functioning access point.
First, run power to the unit. Check the voltage and amperage requirements from the spec sheet. Use a dedicated circuit if possible. Make sure wiring is grounded properly and protected in conduit. Do not run power lines near data cables to avoid signal interference.
Next, connect the network cable. This is how the barrier communicates with the access control server. Make sure the IP address is correctly assigned and that the server recognizes the device. If your system uses Wi-Fi or PoE, check that signal strength and configuration meet the barrier’s needs.
Follow wiring safety codes as outlined by standards like NFPA Electrical Guidelines
Software configuration includes setting access groups, user permissions, and response timing. If you’re using RFID, biometrics, or QR scanners, confirm that each input method is linked to the access rules in the system.
Also test alerts. Configure settings for tailgating, wrong-way entries, or emergency overrides. These features add security and improve response speed.
Wiring details vary by model. For a full connection guide, visit this Flap Barrier Wiring Reference
Getting this step right means your barrier responds quickly, logs entries correctly, and functions securely from day one.
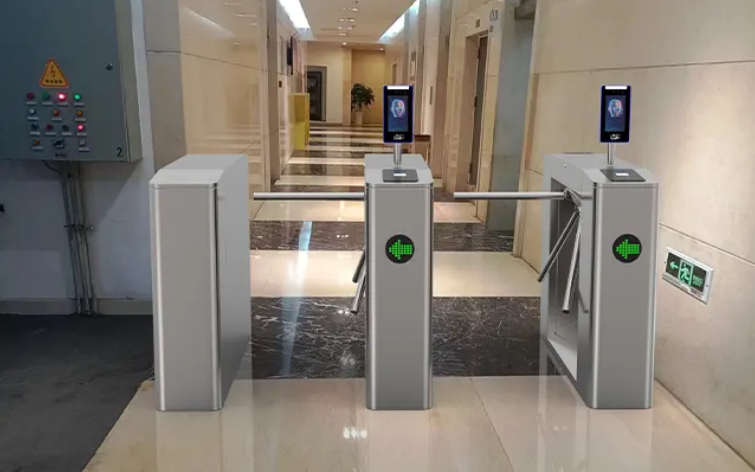
Running Full System Tests
After wiring and software setup, full system testing confirms that everything is working as intended. This is not a step to rush. Testing reveals whether your flap barrier setup is truly ready for day-to-day use.
Start by powering on the unit. Watch for normal startup behavior—lights should blink, arms may reset, and the screen (if any) should show ready status. If the barrier does not boot correctly, review wiring and voltage. You may need to check the power supply or fuse box.
Next, run test scans. Use both valid and invalid credentials. Swipe access cards, scan fingerprints, or test mobile passes based on your configured system. The flap arms should open immediately for valid users and deny or trigger alerts for unauthorized attempts.
Now simulate tailgating or double entries. One person should scan and walk through. Then another person should attempt to follow closely without scanning. The system should detect and respond. If not, sensor calibration may be off, or tailgating detection might be disabled in the software.
Test the system’s response to loss of power. Cut the power to simulate an outage. Does the flap barrier open automatically for emergency egress? If not, check the emergency release settings or backup power system. This is critical for safety and compliance.
Check the logs. Your access control software should capture every event—entry approved, denied, tailgating attempt, system error. Review these logs in real-time to confirm syncing with the central database or cloud.
Run these tests multiple times over a short period. Watch for inconsistencies or delays. If a problem repeats, solve it now—before users depend on the system daily.
Thorough testing ensures that your flap barrier is not just installed, but actually working as designed.
Final Deployment and User Training
After testing is complete, your flap barrier is ready to go live. But deployment is more than flipping a switch. Final setup includes reviewing the system one last time and helping users understand how it works.
Begin with a readiness check. Confirm that all bolts are tight, all flaps move smoothly, and all access methods are responding. Review software settings one final time. Check date, time, and log sync to avoid entry records being missed.
Then train your team. Show them how to use the barrier—how to enter, how to scan badges, what to do if access is denied. If the barrier supports mobile access or facial recognition, walk users through those steps. The easier it is for people to understand the system, the fewer support calls you’ll get.
Staff should also know what to do when something goes wrong. Train key personnel on how to reset the system, respond to alarms, or perform a basic diagnostic. Leave written instructions near the barrier or in a central location.
If your site has emergency procedures, make sure the flap barrier setup supports them. Demonstrate how the system opens during a power failure or security override. Confirm that security and safety teams are satisfied with the response.
Deployment also includes documentation. Keep a record of system configuration, user groups, software version, and emergency codes. This helps future technicians solve problems faster and helps your organization track asset history.
For broader rollout planning, consult this Flap Gate Deployment Guide
A strong finish ensures the system is not just installed, but understood and supported by everyone who uses it.
Installation Checklist: From Delivery to Deployment
- Inspect delivery boxes for damage or missing parts
- Store equipment upright and in a secure, dry place
- Clear and level the site for mounting
- Confirm nearby access to power and data
- Measure and mark positions using vendor templates
- Drill anchor points and level the barrier before bolting
- Route wiring in conduit and separate power from data
- Confirm voltage, grounding, and network IP settings
- Configure software access rules and sync with server
- Test all access methods and emergency responses
- Run simulations for tailgating and invalid entries
- Confirm log syncing and real-time alerts
- Train users and staff on daily operations
- Prepare a system guide for future reference
- Verify all safety standards are met before go-live
This checklist is your final review before deployment. Use it to catch anything that was missed and to confirm your flap barrier is ready for daily use.
Final Thoughts
A flap barrier system is only as good as its installation. From the moment the equipment arrives to the first user walk-through, every step must be managed with care. Skipping or rushing parts of the process causes problems later. But with a clear, guided approach, the process becomes predictable—and smooth.
This flap barrier installation guide has walked you through delivery, site prep, mounting, wiring, testing, and deployment. Following these installation steps ensures a system that works from day one, with fewer errors, fewer surprises, and stronger security.
Use this roadmap for your next flap gate deployment—and you’ll complete the job faster, safer, and with full confidence in the result.
FAQs
1. What is the most overlooked step in flap barrier installation?
Site preparation. Failing to level the floor or check spacing leads to mounting problems and misaligned flaps.
2. How long does a full flap barrier installation take?
A single unit can be installed in one day if the site is ready. Larger projects take multiple days depending on complexity.
3. Can I install the software after powering on the barrier?
Yes, but it’s best to configure access settings before testing with users. This avoids confusion or denied entries.
4. What happens if I skip the final testing phase?
Undetected issues could affect access, logging, or safety. Final testing ensures the system works reliably in real-world use.
5. Should I train users on the system?
Yes. Training reduces confusion, cuts support time, and helps users trust the system from day one.
Share on Social: