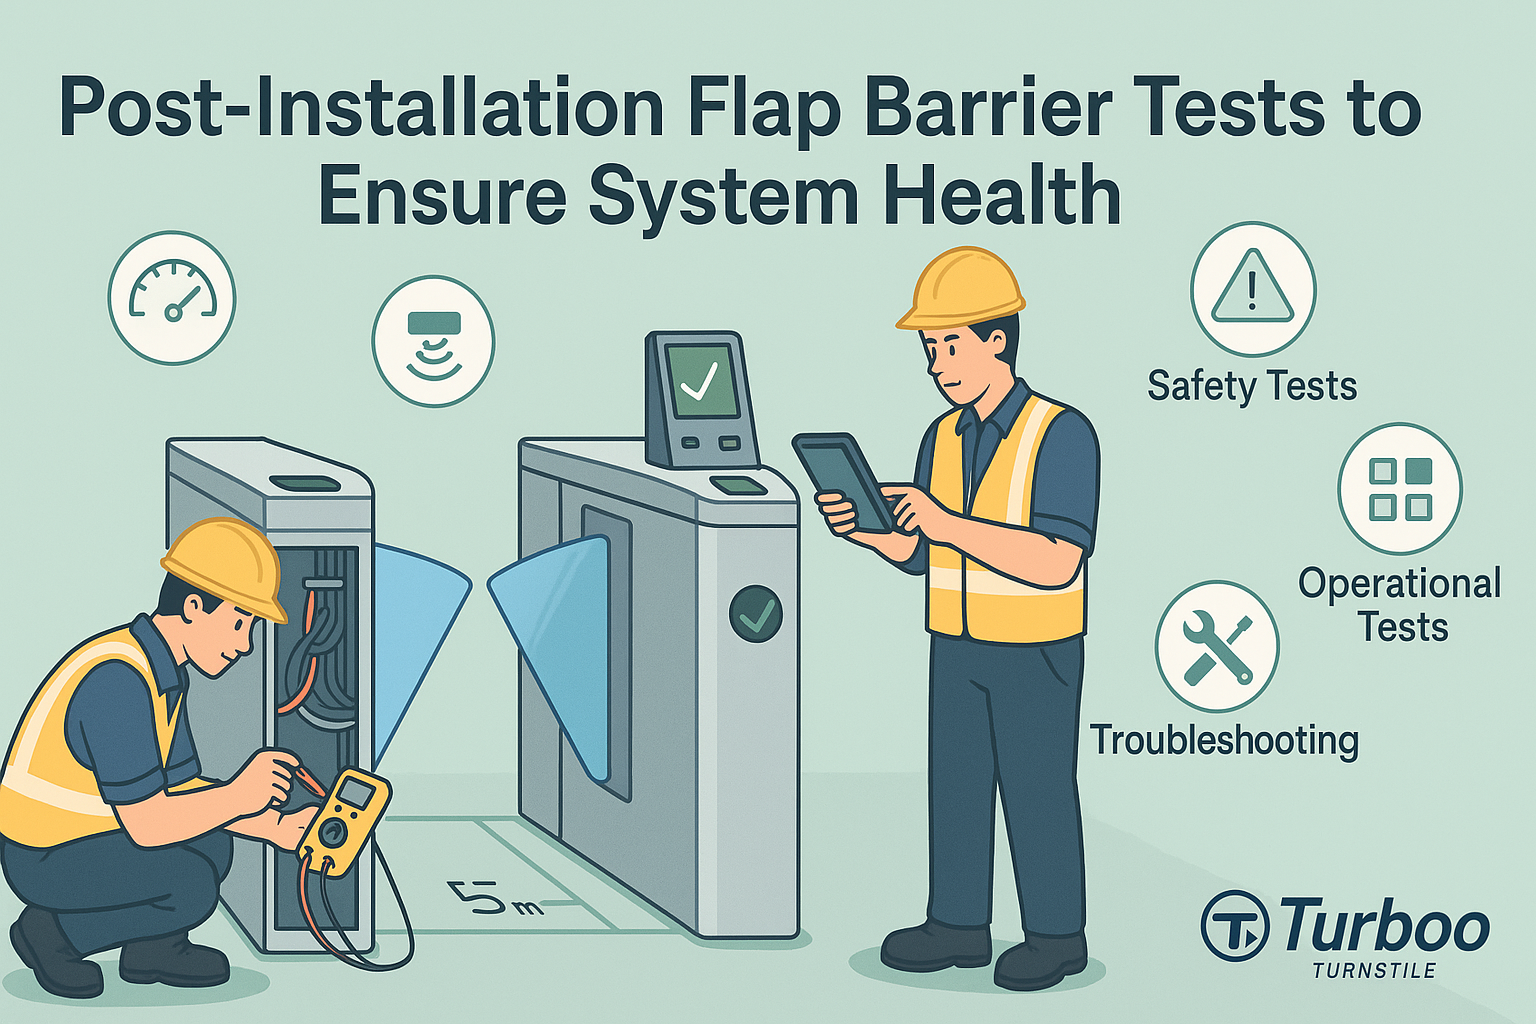
Post-Installation Flap Barrier Tests to Ensure System Health

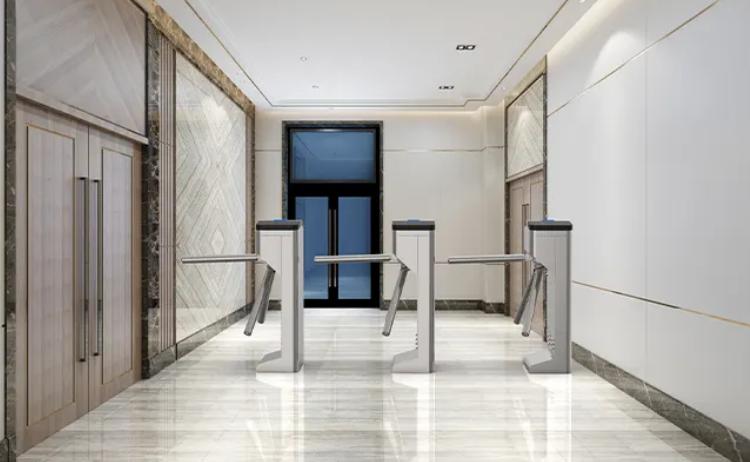
Flap barriers are designed to control access, manage security, and improve flow in modern buildings. But even a flawless installation doesn’t guarantee a fully functioning system. Post-installation testing is the only way to confirm that everything works as it should. Skipping these steps can lead to performance failures, safety risks, or costly rework.
Technicians and facility managers often assume that once the system powers on and the flaps move, the job is done. But flap barrier systems are complex. They depend on precise motion, sensor input, power reliability, software integration, and user interaction. If one part is off, the entire system suffers.
This guide outlines all critical flap barrier tests needed after installation. From checking the power supply to running full user simulations, each step ensures that your system will perform reliably from day one. These barrier system checks don’t just prove functionality—they help prevent problems that lead to downtime and costly repairs.
When you follow these tests, your barriers are safer, smarter, and stronger. The goal isn’t just to get the system running—it’s to keep it healthy for the long run. Let’s begin with the first and most vital test: verifying power and connectivity.
Power and Connectivity Test
The first post-installation test starts with the basics. The flap barrier must receive steady power and maintain strong communication with the control system. If either of these fails, the entire unit becomes unreliable.
Start by checking the main power connection. Measure voltage at the barrier’s input terminals to confirm it matches the manufacturer’s specifications. Look for stable current delivery. Voltage drops or spikes could lead to component damage or erratic operation.
Next, test the power redundancy if the system includes a backup battery or uninterruptible power supply. Simulate a power cut and confirm that the barrier continues to operate or powers down safely. This ensures the system won’t fail during outages.
Connectivity tests come next. If the barrier connects to a server or access control panel, ensure the communication link is live. For TCP/IP systems, check Ethernet ports and confirm data flow through a ping or system status readout. For RS485 or Wiegand, check the signal lines for continuity and verify the correct polarity.
Most barrier models include indicator LEDs or software interfaces to show live connection status. Use these tools to confirm system handshakes, data transmission, and link status.
Power and connectivity checks should be performed before any other tests. If the barrier doesn’t receive clean power or stable communication, every other function becomes unreliable. Completing this test first creates a stable platform for everything else.
Flap Motion and Response Test
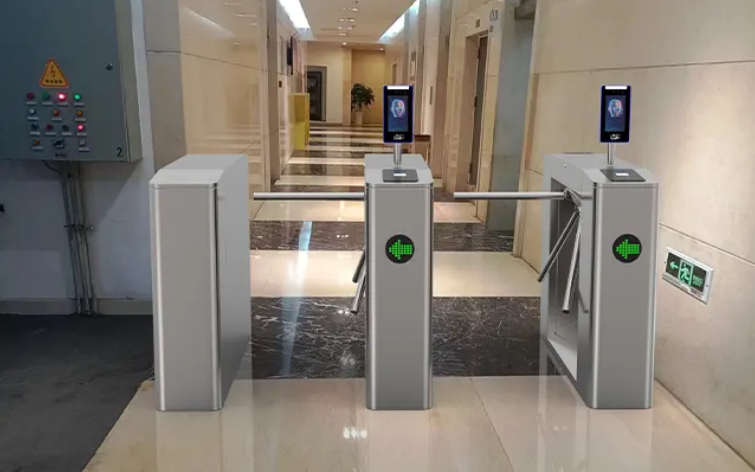
Once the barrier powers on and connects properly, observe the flap motion. This test reveals whether the barrier responds as expected when a valid access credential is presented.
Trigger the flap using multiple methods—card swipe, keypad entry, or biometric scan—depending on what’s installed. Watch for immediate response. The flap should open smoothly, with no delay, noise, or hesitation. It should also close promptly after the passage is complete.
Check for consistency. Every activation should produce the same result. If the flaps operate at different speeds or close too quickly, it may indicate improper calibration or mechanical misalignment.
This test is also where you watch for odd noises or vibrations. Scraping sounds, jerky motion, or slow retraction can point to motor stress or alignment issues. Even if the barrier works, these signs mean future failures are likely without correction.
It’s also essential to test the flap’s return behavior. After each passage, the flap should close fully and lock if the system is in secure mode. If it stops short or remains slightly open, adjust the motor control or sensor sync settings.
Smooth, consistent flap operation is a key marker of system health. This test confirms that the physical components are performing correctly and helps validate earlier installation steps.
Sensor Alignment Check
Flap barriers rely on sensors to detect movement, prevent collisions, and trigger flap responses. If these sensors are misaligned or malfunctioning, the entire system becomes unsafe and unreliable. That’s why sensor alignment testing is a top priority.
Begin by identifying each sensor used in the system. Most flap barriers have infrared sensors embedded in the sides, base, or top of the unit. Others may use optical beams or ultrasonic detection. Each sensor must detect the user’s presence and send a timely signal to the control board.
Test each sensor by slowly walking through the lane. The barrier should detect your approach and respond correctly. Pay attention to whether the flaps open too late, too early, or not at all. These are signs that sensors need realignment.
Then test reverse movement. Step into the lane and pause. The barrier should not attempt to close while you’re standing inside the detection zone. If it does, sensor zones are either misaligned or improperly configured.
Confirm that sensors respond to different body types and speeds. Walk slowly, quickly, and simulate hesitations to ensure that the detection logic adapts to real-life usage patterns.
Adjustments should be made through the barrier’s configuration menu or via alignment screws and mounting brackets. Once aligned, retest until the barrier reacts consistently under all conditions.
Sensor alignment testing protects users and ensures smooth, accurate flap behavior. Without it, even a well-installed system can pose risks or cause user frustration.
Safety Obstruction Detection Test
Safety is at the core of every access control system. Flap barriers must recognize when a person or object is in the way—and respond instantly. This is where the safety obstruction test comes in.
Begin by allowing the flap to begin closing, then interrupt it with a hand or soft object. The flap should stop immediately or reverse direction. This function prevents the barrier from striking users or trapping them during entry.
Next, test for dwell time. If a user stops mid-lane, the system should keep the flap open or alert the control panel. Sudden closing or unexpected locking could lead to injury or user panic. If the system includes audible alarms or warning lights, ensure they activate correctly during these tests.
Perform multiple trials using different positions and speeds. Try entering partially, stepping back, and re-approaching. The system should remain safe and responsive throughout these actions.
These barrier system checks confirm that the unit will not injure users or behave unpredictably. They also help verify that emergency sensors and override controls are working properly.
Safety obstruction detection is not just a technical requirement—it’s a legal and ethical responsibility. It must be verified before handover, without exception.
Software and Integration Test
After the physical system is verified, the next step in flap barrier tests involves checking the software integration. This ensures the barrier communicates properly with access control systems, security software, and monitoring platforms. A physical system without solid software sync is incomplete and unreliable.
Start by reviewing the access control configuration. Present a credential, such as a keycard or biometric input, and monitor how the system records it. The access event should be logged in real time, with accurate timestamps and user information. If this data doesn’t appear in the software interface, the communication link is broken or misconfigured.
Test both successful and denied entries. An invalid card should trigger a blocked access alert. The flap should remain closed, and the system should generate a rejection message. This confirms the software rules are working and that the system enforces access permissions correctly.
Verify system alarms. Simulate a tailgating event or force an open flap. Confirm that the access control software receives the alert, logs the event, and notifies security staff if configured to do so. These features are critical for environments where tight security is required.
Check remote access functions. If the system allows admin override or manual unlock from a control station, test this as well. You should be able to open or close the barrier through the software without standing at the gate.
Run all tests with the same credentials used during actual operations. This confirms that real-world use will match test results. Don’t rely on factory test cards or demo profiles—use real employee data or test accounts configured within the client’s network.
Software and system integration testing is essential for full barrier health. It ensures every event is tracked, every access is secure, and every user interaction follows defined policies.
Final User Acceptance Check
The last step in post-installation testing involves the people who will actually use the flap barrier system every day. That’s why a user acceptance check is crucial. It confirms that real users can interact with the barrier easily, comfortably, and without confusion.
Begin by walking a few users through the full entry and exit process. Let them scan their cards, badges, or biometrics, and observe their reactions. Do they hesitate? Are they unsure where to stand? Is the flap response too fast or too slow?
Ask for feedback. Listen to what users say about spacing, speed, indicator lights, or audio cues. Even small complaints can point to important usability problems that technical tests may not catch.
Observe users with bags, briefcases, or assistive devices. A barrier may function perfectly under test conditions but become difficult when someone carries large items or walks with a cane. These real-world tests ensure the system fits actual site needs.
If the system includes audio or visual prompts, confirm that they’re clear and noticeable. This includes LED direction indicators, sound alerts, and status screens. These elements guide users and reduce confusion.
Once the walkthrough is complete, meet with site managers or the client’s facilities team. Review test results and confirm that they’re satisfied with the barrier’s performance and usability. This sign-off marks the system as ready for full operation.
User acceptance is not just a formality—it confirms that the system works where it matters most: with people. When users are confident and comfortable, the barrier system becomes a trusted part of their daily experience.
Conclusion – Test Today, Operate Smoothly Tomorrow
A flap barrier that looks great isn’t enough. It must function perfectly. Post-installation testing bridges the gap between installation and real-world reliability. By following a complete testing routine, you confirm that power, sensors, software, and motion all perform together in harmony.
These flap barrier tests prevent errors from slipping into daily use. They protect users from accidents, help facility teams maintain system health, and prove the quality of your installation. Whether you’re a contractor, technician, or facility manager, complete testing is your last step—and your most important.
Always test thoroughly. Always test smart. And remember: great installs don’t just work—they last.
FAQs
Q1: Why is it important to test power and connectivity first?
Because power and network failures affect every system component. Testing them first ensures a stable foundation.
Q2: What if the flaps operate inconsistently?
Check motor alignment, voltage levels, and sensor triggers. Inconsistency usually points to calibration or wiring issues.
Q3: How do I know if sensors are aligned properly?
Walk through the lane slowly. The system should detect you early and respond the same way every time.
Q4: What does user acceptance testing involve?
Let real users walk through the system and share feedback. Confirm they feel safe, comfortable, and guided.
Q5: Is software testing needed if hardware works fine?
Yes. Flap barriers rely on software for access rules, logging, alarms, and remote control. It’s a critical part of the system.
Share on Social: